The Ultimate Guide on How to Reverse a Video on iPhone

How does video reversal work, and what are the various methods to achieve it on different devices? This paper explores the techniques and tools to reverse videos on iPhones and desktop computers
1. How to Reverse A Video on the iPhone?
To reverse a video on an iPhone without using any third-party apps, you can follow these steps:
Step 1: Open the ‘Photos’ app
Launch the Photos app on your iPhone. This app allows you to view and manage all the photos and videos on your device.
Step 2: Locate the video you want to reverse
Browse through your albums or the ‘Media Types’ section to find the video you wish to reverse.
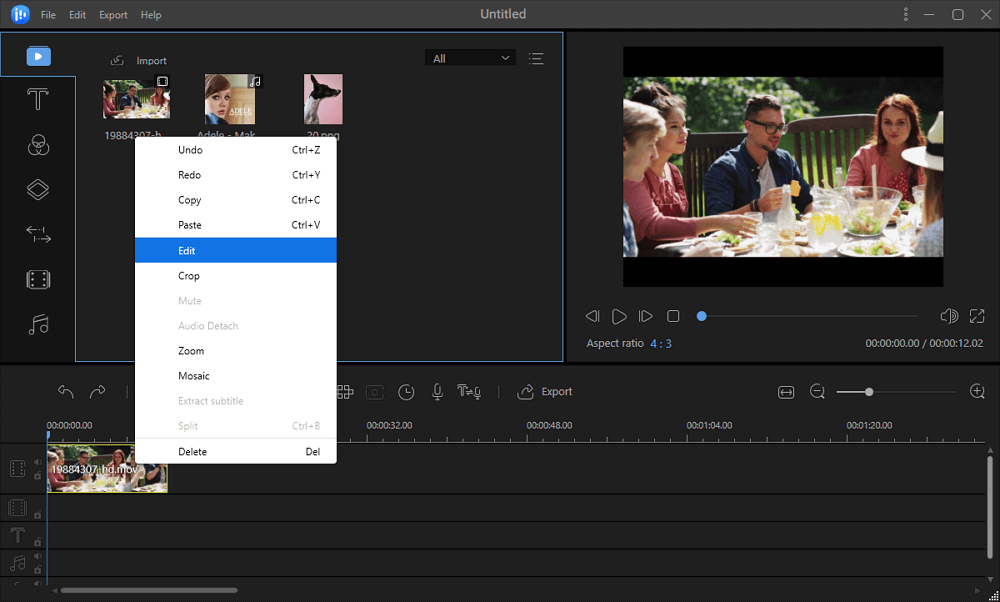
Step 3: Edit the video
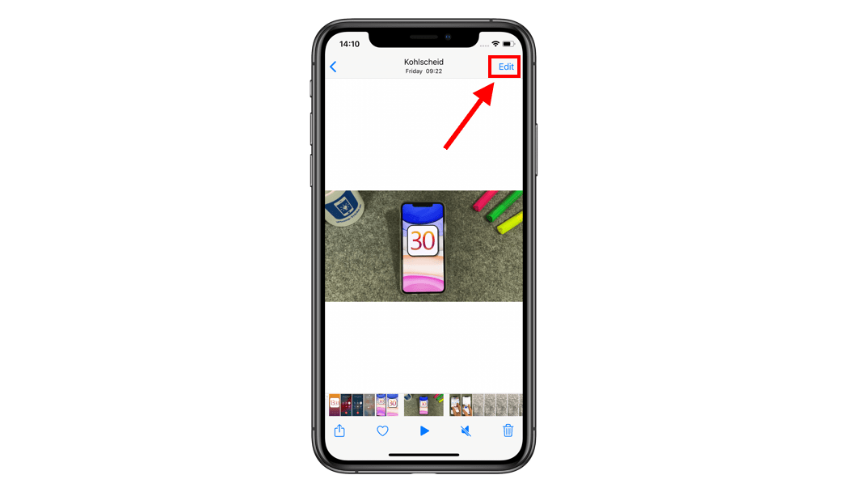
To edit the video, use the ‘Edit’ button in the top right corner after tapping on the video to open it. It looks like three horizontal lines with circles on them.
Step 4: Access video editing tools
Once you are in editing mode, you’ll see various editing options at the bottom of the screen.
Step 5: Tap on the ‘Crop’ icon
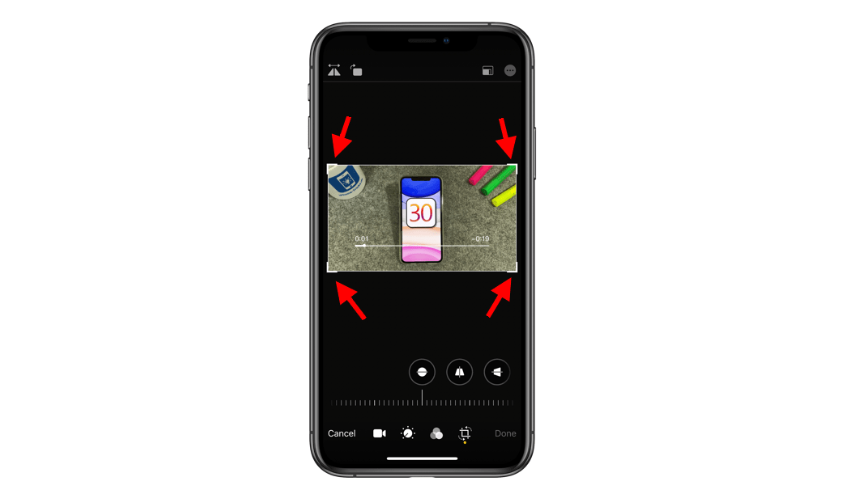
The icon looks like a square with an arrow circling it.
Step 6: Choose ‘Flip Horizontal’
After selecting the ‘Crop’ icon, you’ll see an option labeled ‘Flip Horizontal’ (it may also be labeled as ‘Mirror’). By selecting this choice, the video will play back in reverse.
Step 7: Preview and save
By hitting the play button once the video has been reversed, you can see a preview of it. If you are satisfied with the result, tap ‘Done’ to save the reversed video.
Step 8: Save as a new video
The original video will remain unchanged. The edited, reversed video will be saved as a new video in your ‘Photos’ app.
That’s it! You now have a reversed version of your original video without using any external apps. Remember to keep the original video intact in case you need it later.
2. Other Methods of Reversing Video on the iPhone
Here are other methods to reverse a video on an iPhone using iOS apps:
2.1 FilmoraGo
FilmoraGo is a video editing app that enables you to reverse videos easily. Simply import the video into the app, find the reverse option, apply it, and save the reversed video.

-
Download and install the “FilmoraGo – Video Editor & Maker” app from the App Store.
-
Open the app and import the video you want to reverse.
-
Tap on the video in the timeline to choose it.
-
Click on the “Reverse” option to reverse the video.
-
Preview the reversed video and export it to save the changes.
2.2 InShot
InShot is another popular video editing app that offers a feature to reverse videos. Import your video into InShot, access the video editing options, choose the reverse function, and then save the reversed video.

-
Install the “InShot – Video Editor” app from the App Store.
-
Open the app and import the video you want to reverse.
-
Tap on the video and then click on the “Reverse” option.
-
Preview the reversed video, make any additional edits if needed, and save the video.
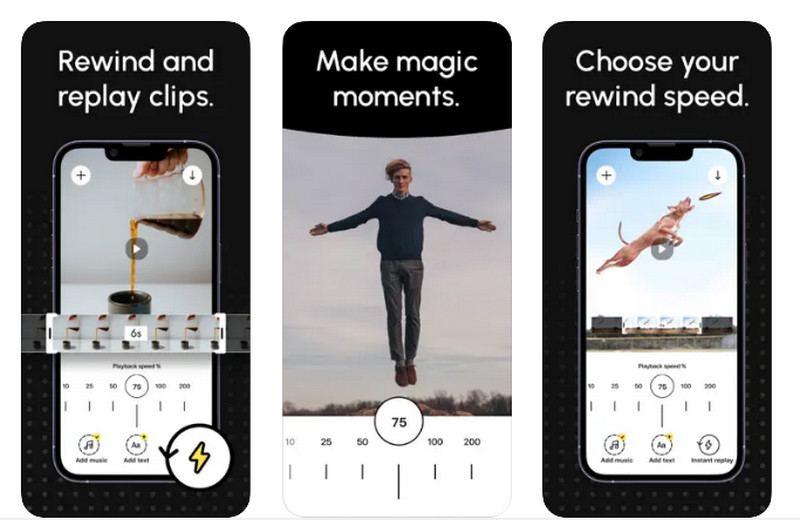
2.3 ReverseVid
ReverseVid is a dedicated app designed specifically for reversing videos. It allows you to import a video from your camera roll, reverse it with a single tap, and save the reversed video back to your gallery.
-
Download and install the “ReverseVid – Instant Replay” app from the App Store.
-
Open the app and import the video you want to reverse.
-
The app will automatically reverse the video for you.
-
Preview the result and save the reversed video.
2.4 LumaFusion
LumaFusion is a more advanced video editing app with professional features. Among its many capabilities, it includes the ability to reverse videos. Import your video into LumaFusion, apply the reverse effect, and save the result.
-
Install the “LumaFusion” app from the App Store
-
Open the app and import your video into the timeline.
-
Select the video clip, go to the “Effects” tab, and tap on “Reverse.”
-
Preview the reversed video and export it to save the changes.
All of these methods involve using third-party iOS apps to reverse your video on the iPhone. Keep in mind that some apps may offer additional features and editing options beyond just video reversal. Make sure to explore the apps and choose the one that best suits your needs.
Please note that the availability and features of these apps might change over time, so it’s a good idea to check the App Store for the latest information about these apps. Using third-party apps gives you more control over the editing process and may offer additional features compared to the basic reverse function available in the Photos app.
3. How to Reverse a Video on the Desktop?
To reverse a video on your desktop, you can utilize one of the following video editing software programs: EaseUS Video Editor, Filmora, or Movavi Video Editor. Here’s a general guide on how to do it using any of these tools:
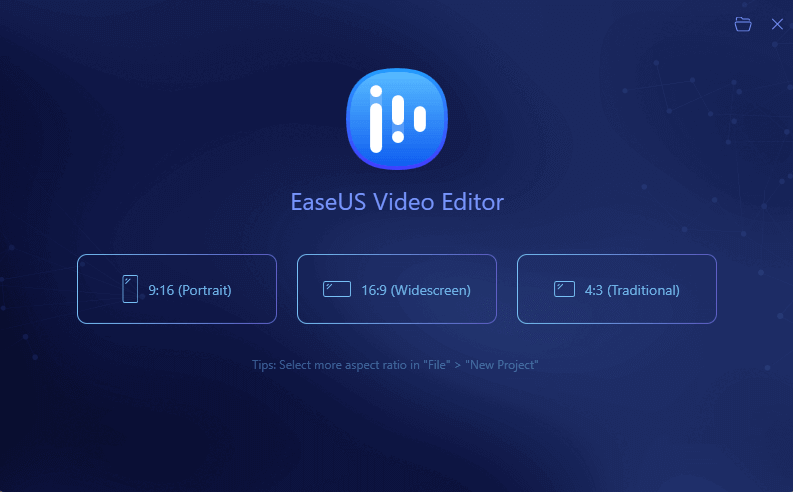
3.1 EaseUS Video Editor
Download and install EaseUS Video Editor on your desktop.
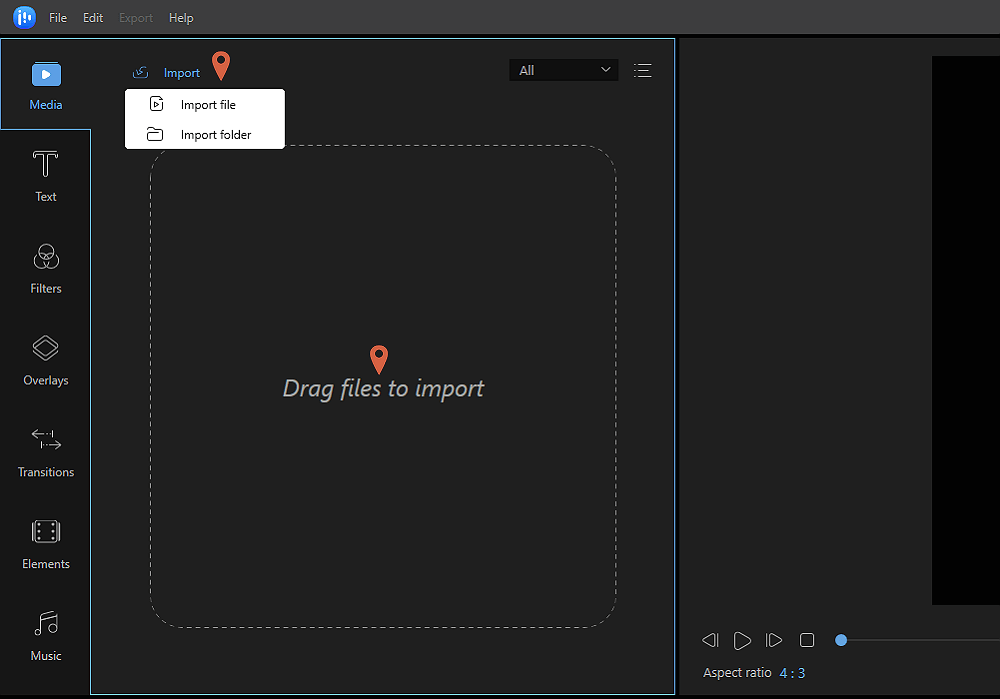
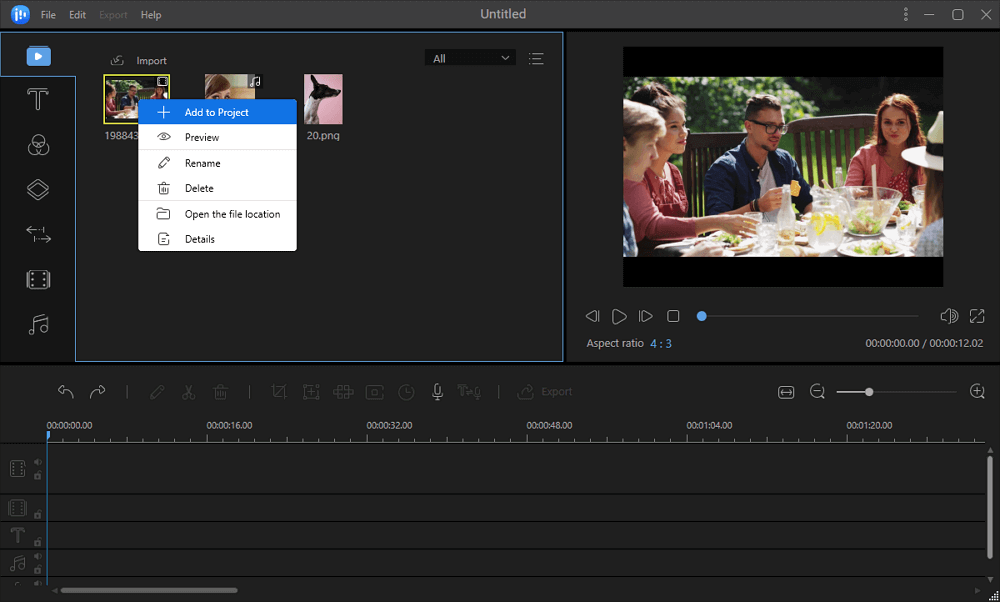
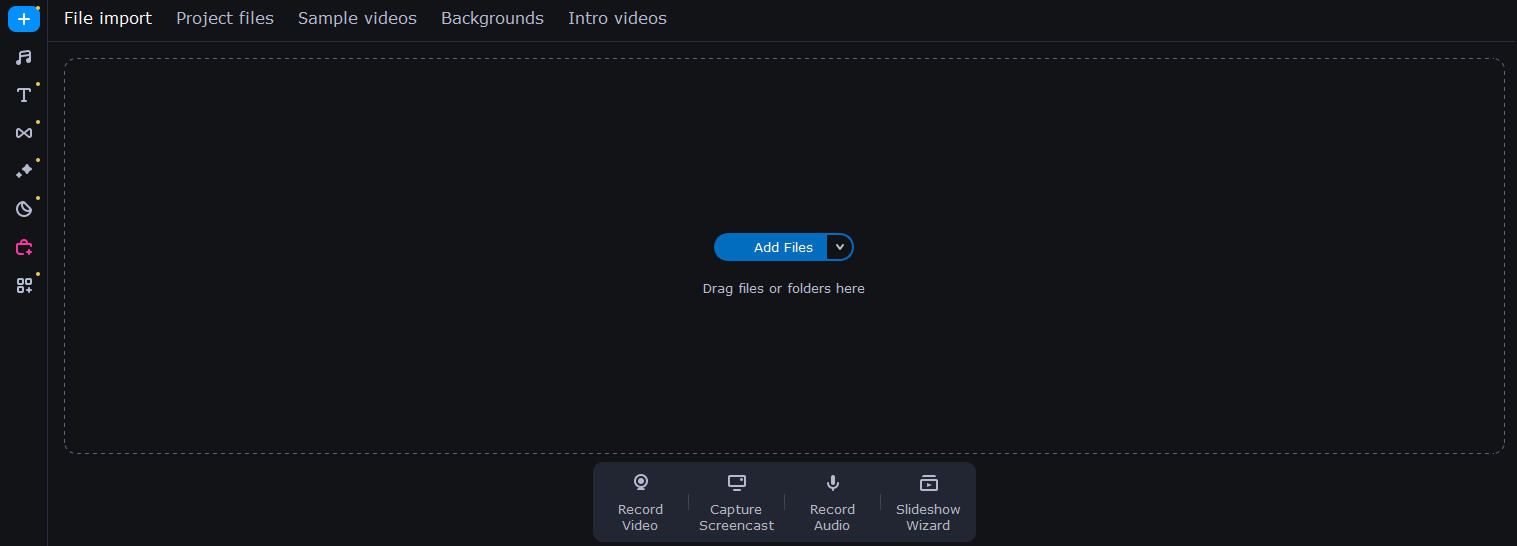
Launch the program and import the video you want to reverse into the editor.
Simply place the media file onto the timeline at the bottom of the screen.
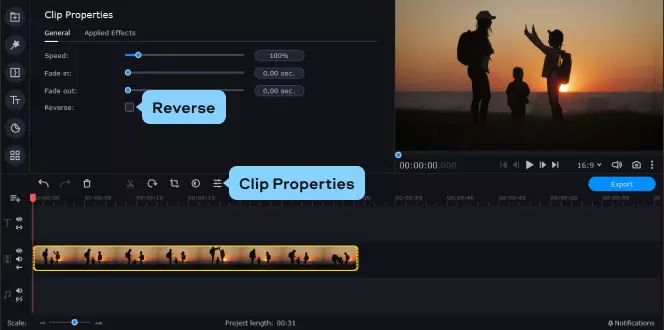
Right-click on the video clip in the timeline and select “Reverse” from the menu.
Preview the reversed video to make sure it’s what you want.
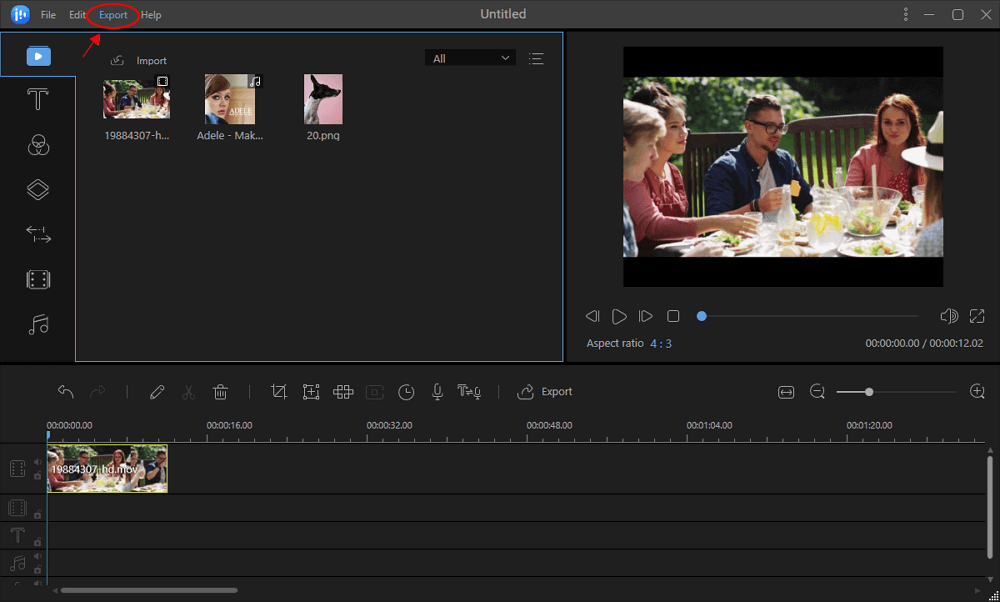
Click on the “Export” button to save the reversed video to your desired location.
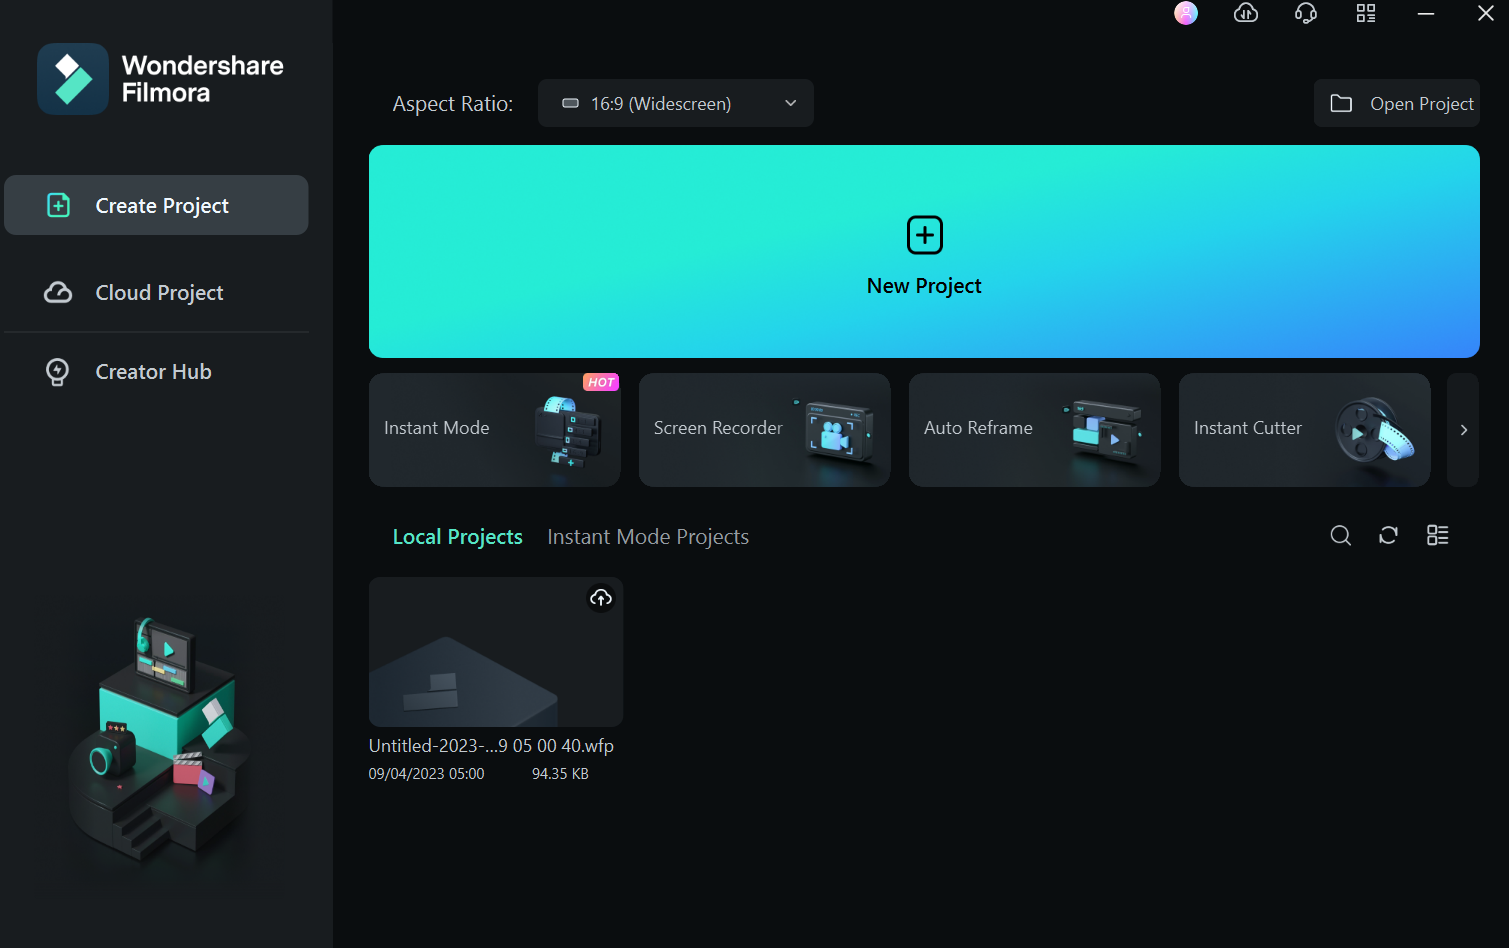
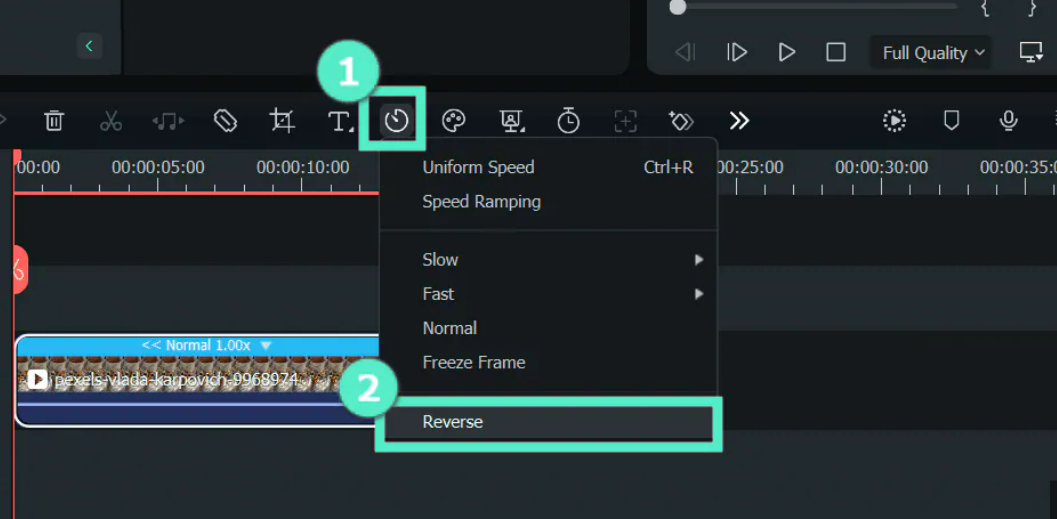
3.2 Filmora
Install Filmora on your computer and open the software.
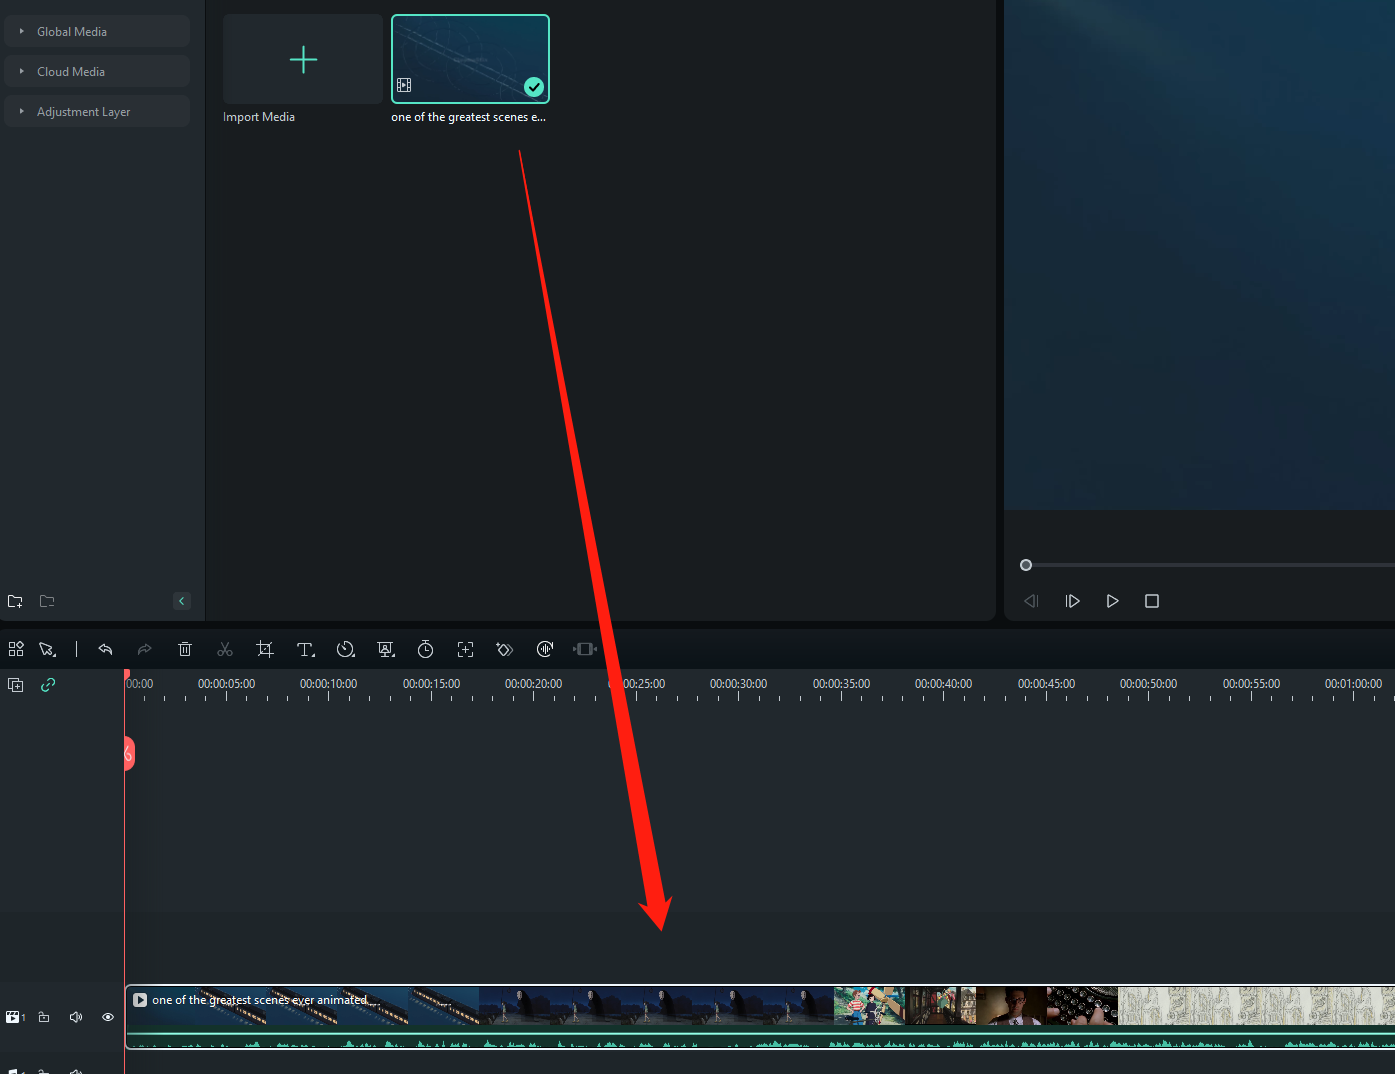
Import the video you want to reverse into the software’s media library.

Simply drop the video file onto the bottom timeline.
To adjust the video’s speed and length, right-click the clip in the timeline and choose “Speed and Duration”.
In the “Speed and Duration” window, check the box that says “Reverse.”
Preview the reversed video to ensure it’s reversed correctly.
Select the “Export” button to save the reversed video.
3.3 Movavi Video Editor
Download and install Movavi Video Editor on your computer.
Open the program and import the video you want to reverse.
Drag and drop the video onto the timeline at the bottom of the interface.
Right-click on the video clip in the timeline and choose “Reverse.”
Preview the reversed video to verify that it looks as expected.
Select the “Export” button to save the reversed video to your chosen location.

Please note that the exact steps and user interface might vary slightly depending on the version of the software you are using. However, these instructions should give you a general idea of how to reverse a video using any of these desktop video editors. Always remember to save the reversed video as a new file to preserve the original video.
4. The Bottom Line
Reversing a video on an iPhone can be achieved without using third-party apps by utilizing the built-in editing options in the Photos app. By selecting the video, accessing the edit mode, and choosing the “Flip Horizontal” function, you can easily obtain a reversed version of the original video. Alternatively, various iOS apps like FilmoraGo, InShot, ReverseVid, and LumaFusion offer more advanced video editing capabilities, including video reversal. On desktop, software such as EaseUS Video Editor, Filmora, and Movavi Video Editor allows users to reverse videos by importing, applying the reverse effect, and exporting the edited video. Using these methods, users can effortlessly create reversed videos on both iPhone and desktop devices.