Top 4 Methods for Adding Text to iMovie – Your Ultimate Guide

Are you looking to enhance your video projects with compelling text overlays? Discover the power of adding text to iMovie, a versatile video editing platform. How can you seamlessly integrate text into your videos on Mac, iPhone, or iPad?
Method 1: Adding Text with iMovie on Mac
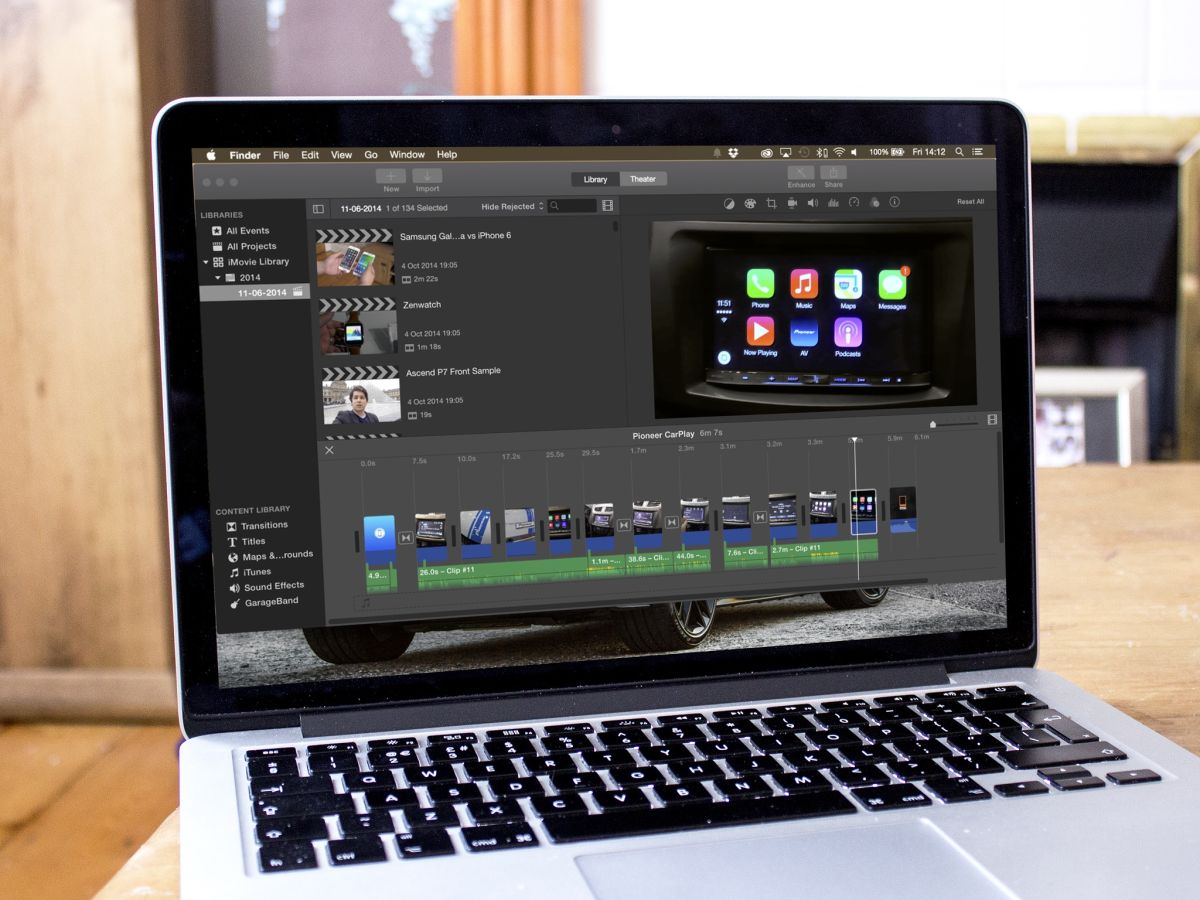
Open iMovie: Launch the iMovie application on your Mac.
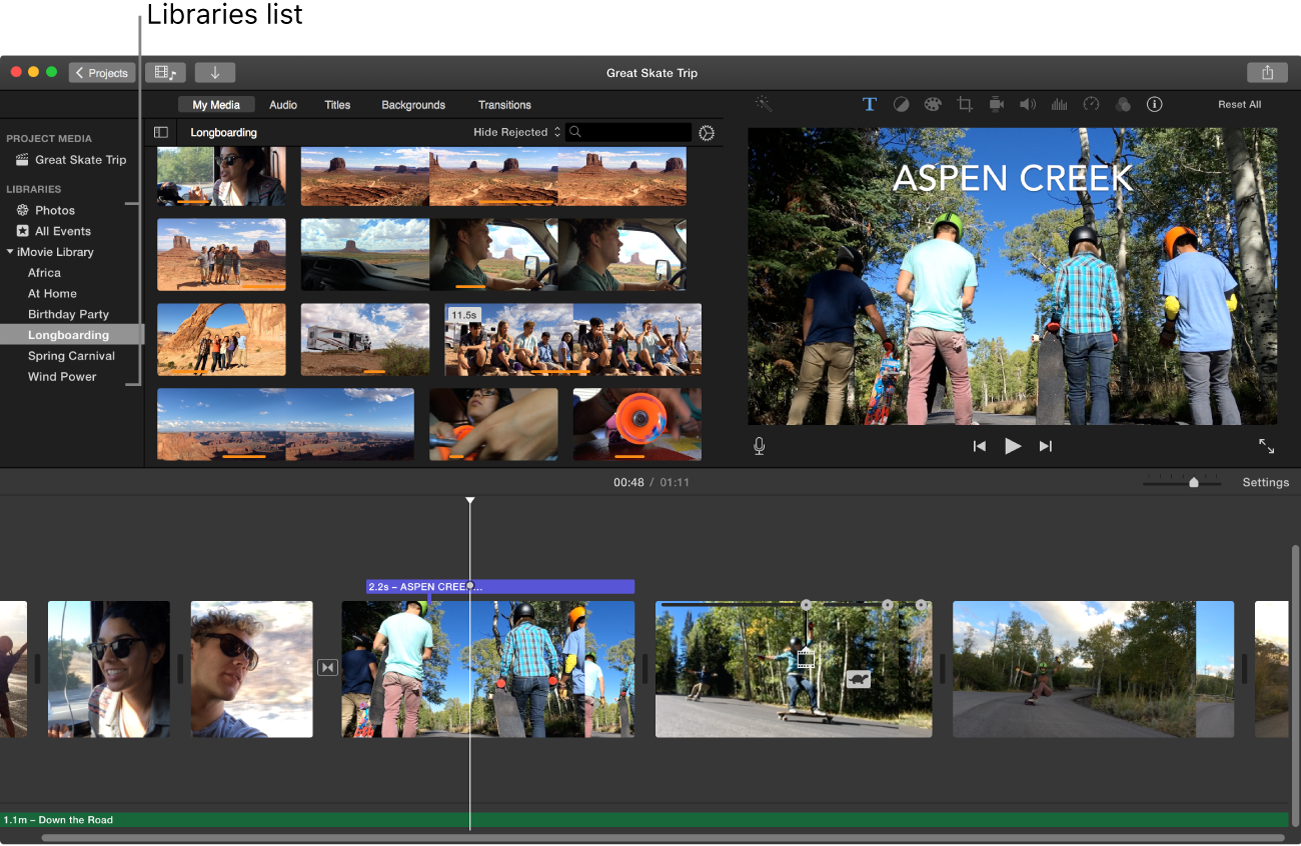
Create or Open Project: Start a new project or open an existing one where you want to add text.
Import Video or Media: If you’re working with a new project, import the video or media clips you want to add text to by clicking on the “Import Media” button and selecting the files from your computer.
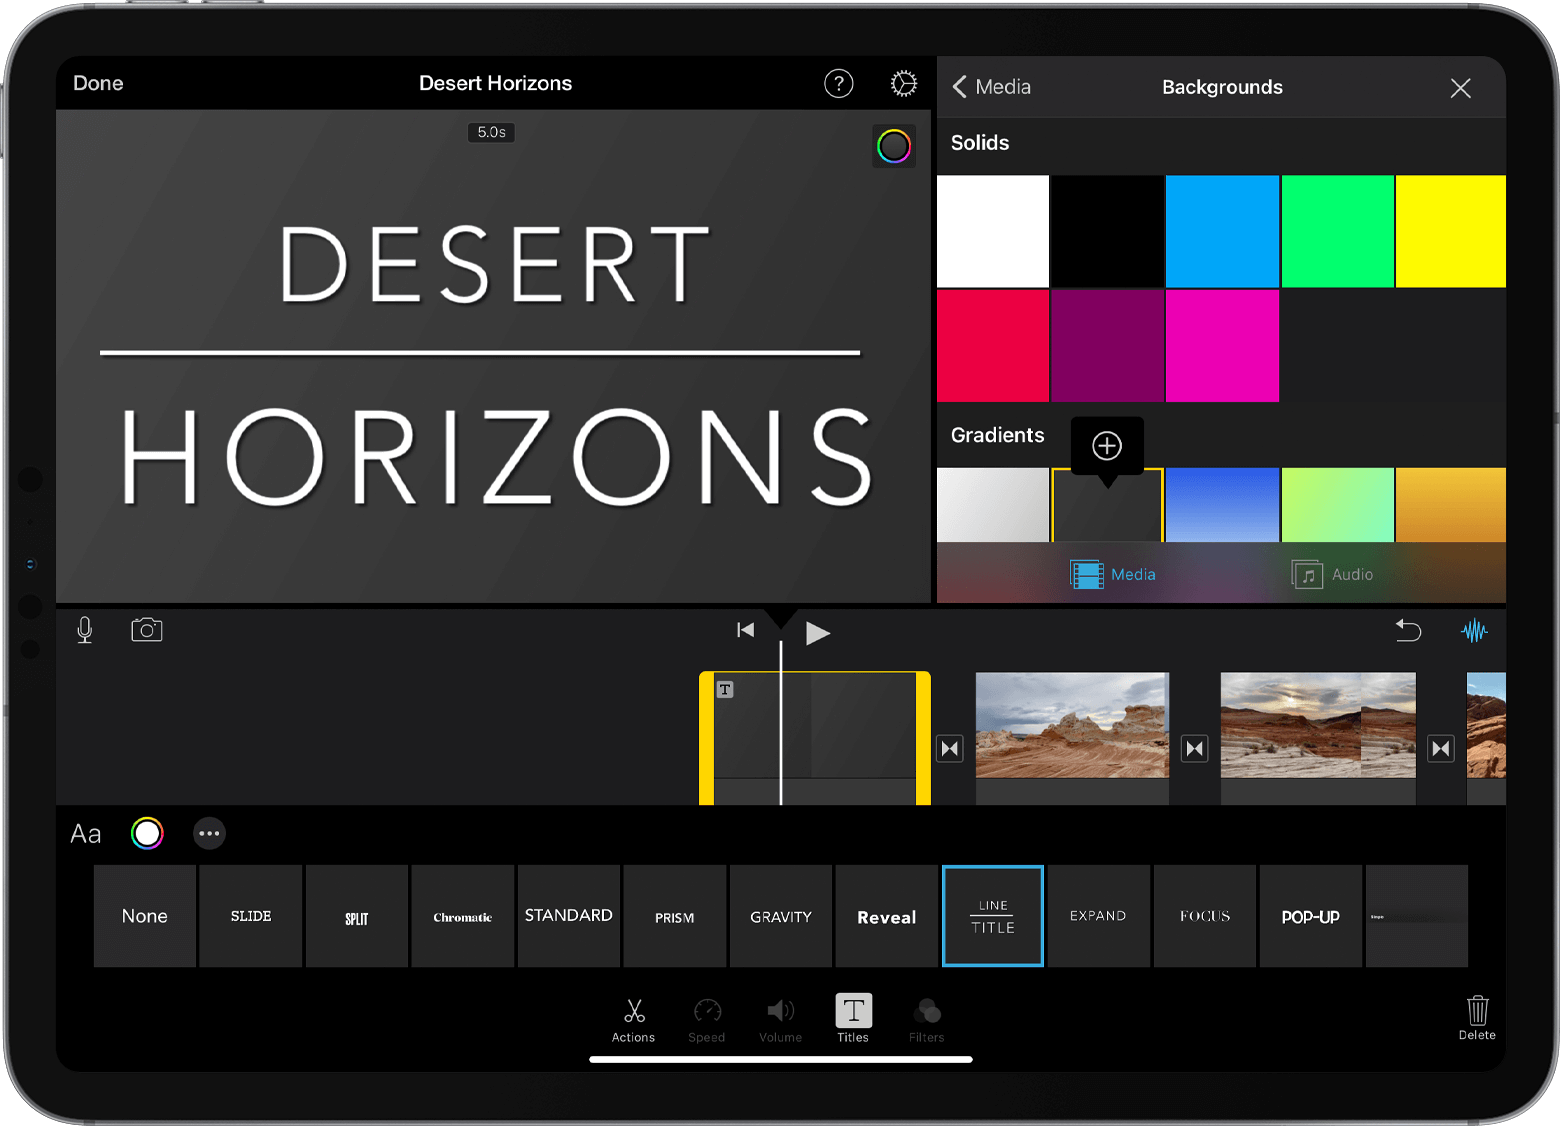
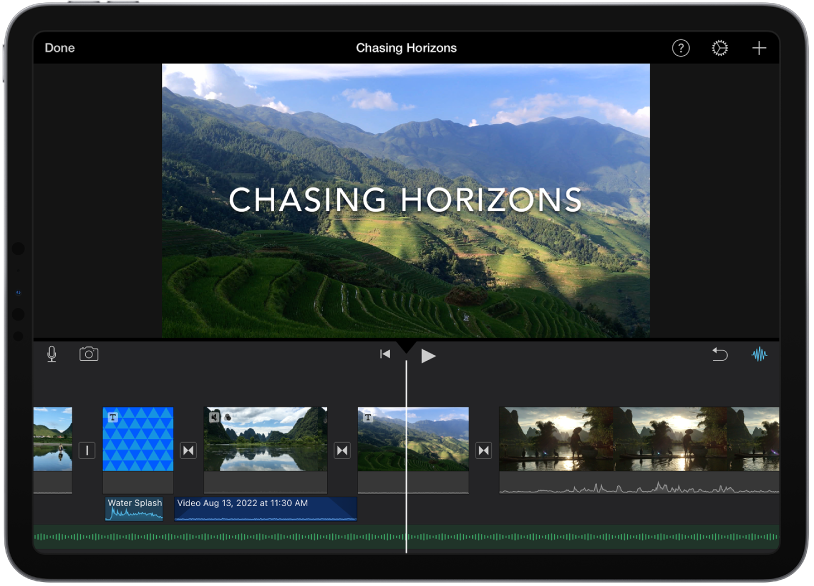
Add Text: Once your media is in the timeline, locate the point in the timeline where you want to add text. Click on the “Titles” button, usually represented by a “T” icon in the toolbar above the preview area.
Choose Title Style: iMovie offers various title styles. Browse through the available options and select the one that suits your project. You can click on a title style to preview it.
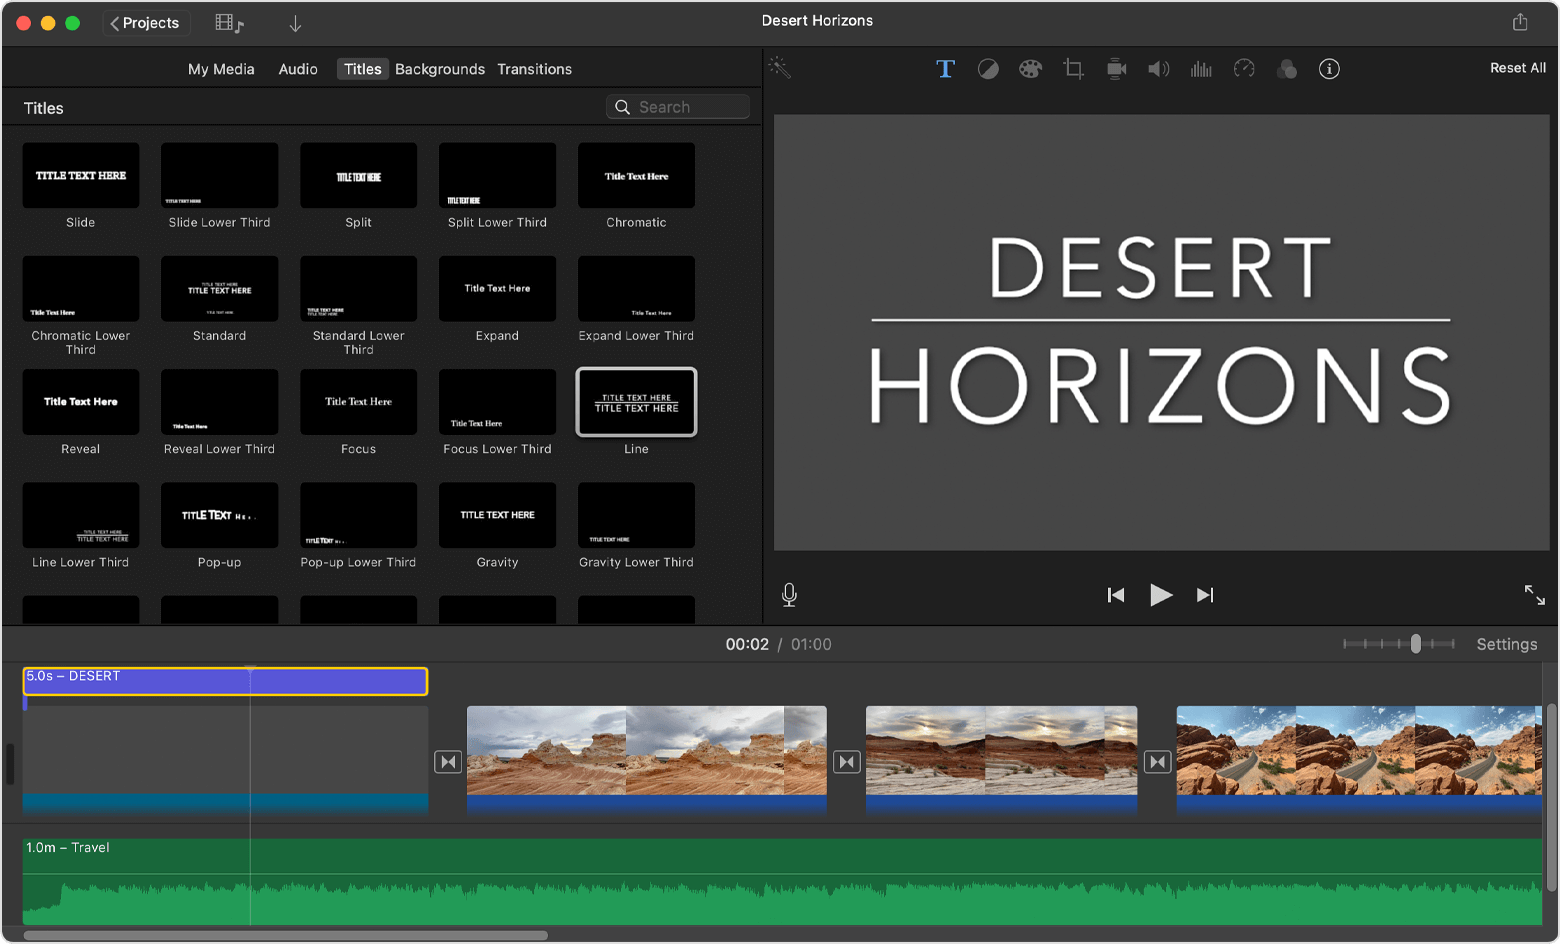
Preview and Edit Title: After selecting a title style, a text box will appear on the preview area. Double-click the text box to enter your desired text. You can also edit the font, size, color, and other formatting options using the text editing controls.
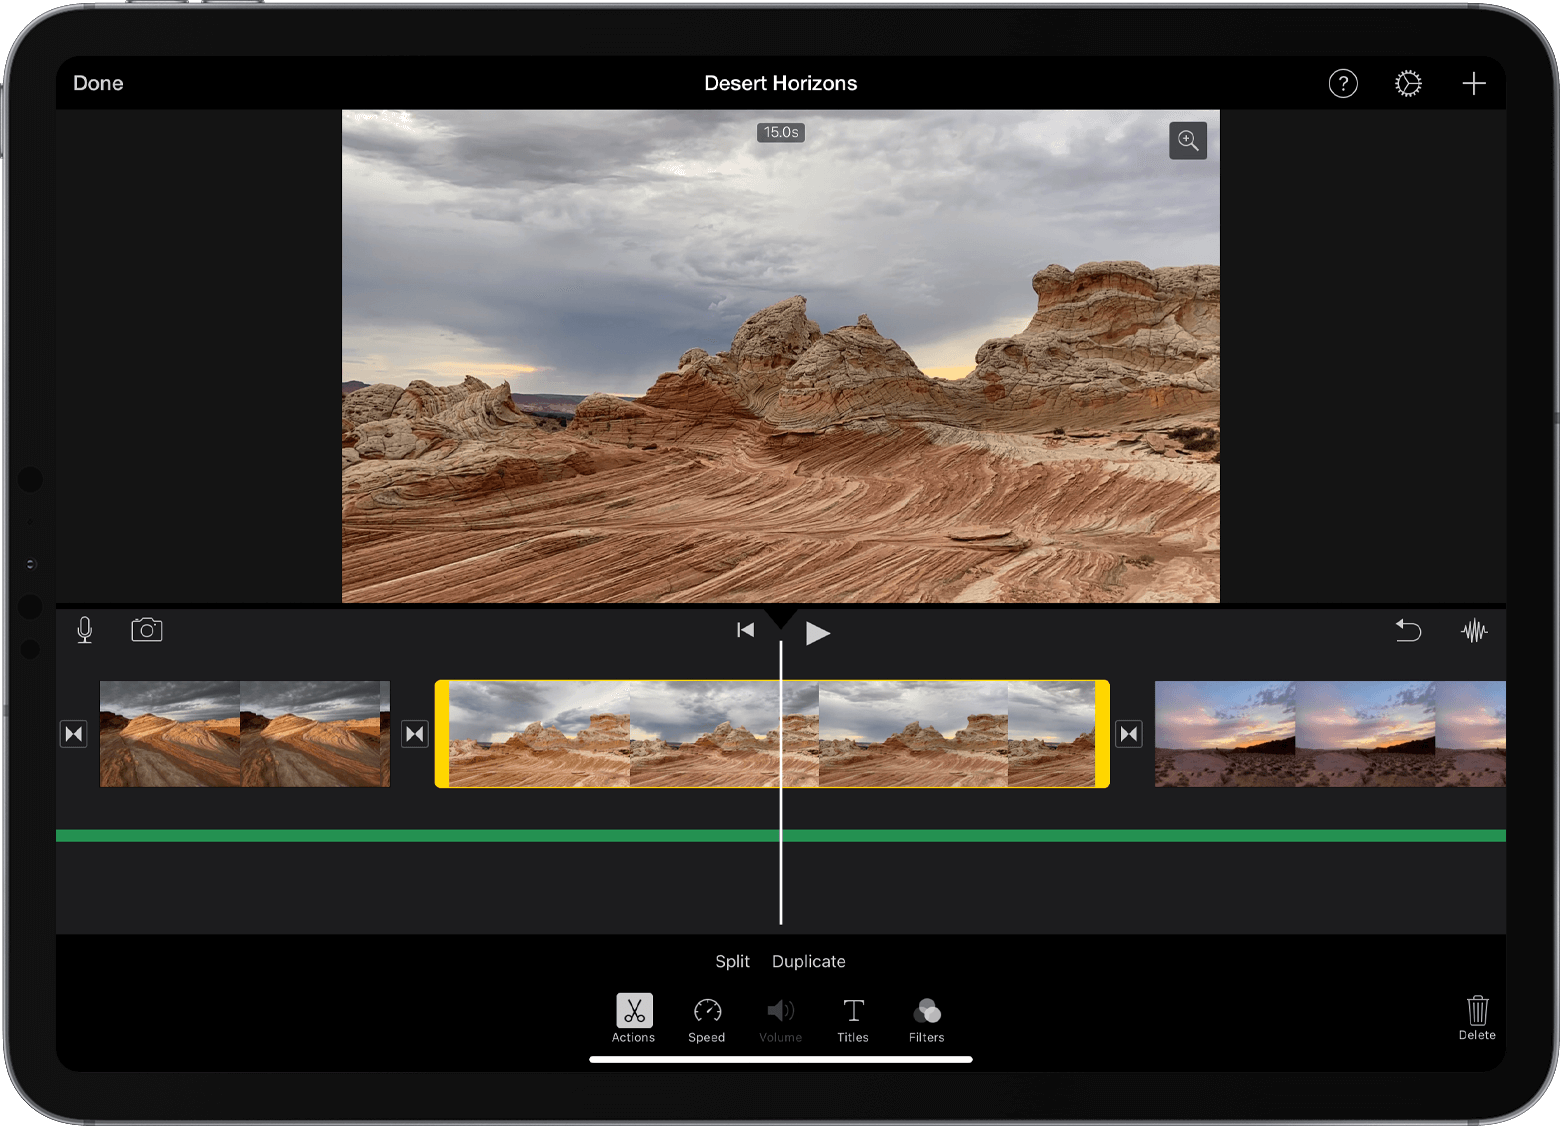
Adjust Title Duration: Titles have a default duration, but you can adjust how long they appear on the screen. To do this, drag the title’s edge in the timeline to make it shorter or longer.
Position and Size: To position the text on the screen, drag the title in the preview area to your desired location. You can also resize it by clicking and dragging the corner handles.

Transitions and Animations (Optional): If you want to add transitions or animations to your title, you can do so by clicking on the “Transitions” or “Animations” tab and selecting the desired effects.
Preview: After adding the text, play the project in the preview area to see how the text appears in the context of your video.
Save and Export: Once you’re satisfied with the text placement and style, save your project and export it to your desired format. Click on the “File” menu, select “Share,” and choose the export options that best suit your needs.
Finalize and Share: After exporting, you can finalize your project and share it with others.
Remember that the interface and features in iMovie might vary slightly depending on the version you’re using, but the basic steps for adding text should remain consistent.
Method 2: Adding Text with iMovie on iPhone
Open iMovie: Launch the iMovie app on your iPhone.
Select Video Clip: Choose the video clip in your iMovie project to which you want to add text. Tap on the clip to select it.
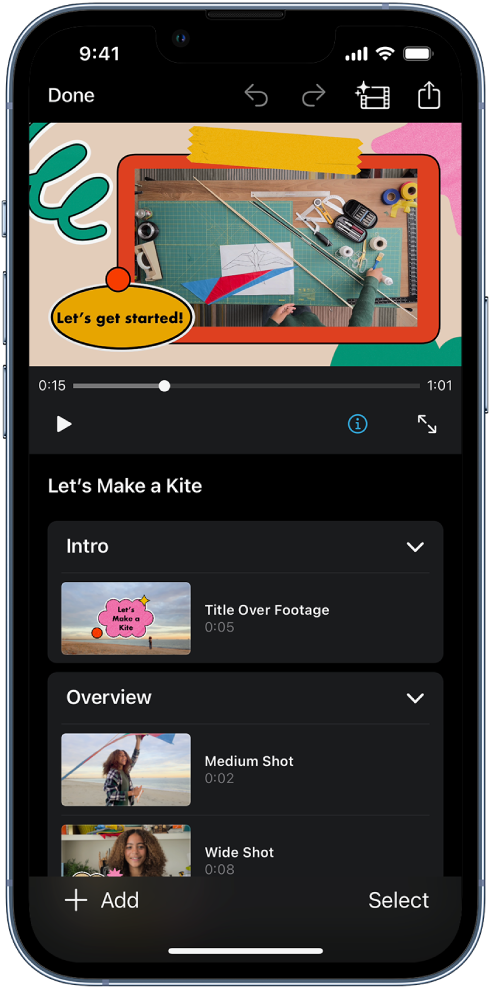
Add Text: At the bottom of the screen, you’ll see a “T” icon. Tap on this “T” icon. This will open the text options for your selected clip.

Choose Title Style: A selection of title styles will appear on the screen. Scroll through the options and choose the style that you like and that fits your project.
Preview and Enter Text: Once you’ve selected a title style, a preview of the chosen style will appear on your screen. Tap on the preview to enter your desired text.
Enter Text: A text box will appear over the selected clip. Tap on the text box to enter the text you want to add. You can use the keyboard to type in your text.

Edit Text Further (Optional): After you’ve entered the text, you can further edit it. You can adjust the font, size, color, alignment, and more. Look for additional text editing options available in the iMovie interface.
Finish Editing: Once you’re satisfied with the text and any additional edits you’ve made, tap the “Done” button. This will apply the text to the selected clip.
Preview: Play the clip in the iMovie timeline to see how the text appears in the context of your video.
Save and Share: After adding the text and making any other necessary edits, you can save your project and share it with others. Look for the options to save or export your edited video.
Method 3: Adding Text with iMovie on iPad
Open iMovie: Launch the iMovie app on your iPad.
Select Video Clip: Choose the video clip in your iMovie project to which you want to add text. Tap on the clip to select it.
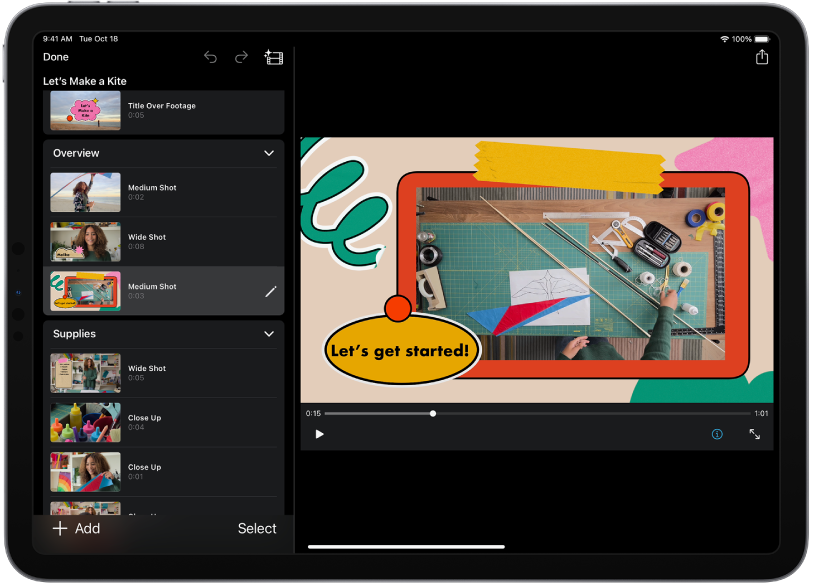
Add Text: At the bottom of the screen, you’ll find a “T” icon. Tap on this “T” icon. This will bring up the text options for your selected clip.
Choose Title Style: You’ll see a range of title styles displayed on the screen. Scroll through these options and select the style that best fits your project.
Preview and Enter Text: After choosing a title style, a preview of the selected style will appear on your screen. Tap on the preview to enter the text you want to add.
Enter Text: A text box will overlay the selected clip. Tap on the text box to input your desired text using the on-screen keyboard.
Edit Text (Optional): If desired, you can further edit the text. Adjust the font, size, color, alignment, and other formatting options available within the iMovie interface.
Finish Editing: Once you’re satisfied with the text and any additional edits, tap the “Done” button located at the top-left corner of the screen. This will apply the text to the selected clip.
Preview: Play the clip within the iMovie timeline to see how the added text appears within the context of your video.
Save and Share: After adding the text and finalizing any edits, save your project and consider sharing it with others. Look for the options to save or export your edited video.
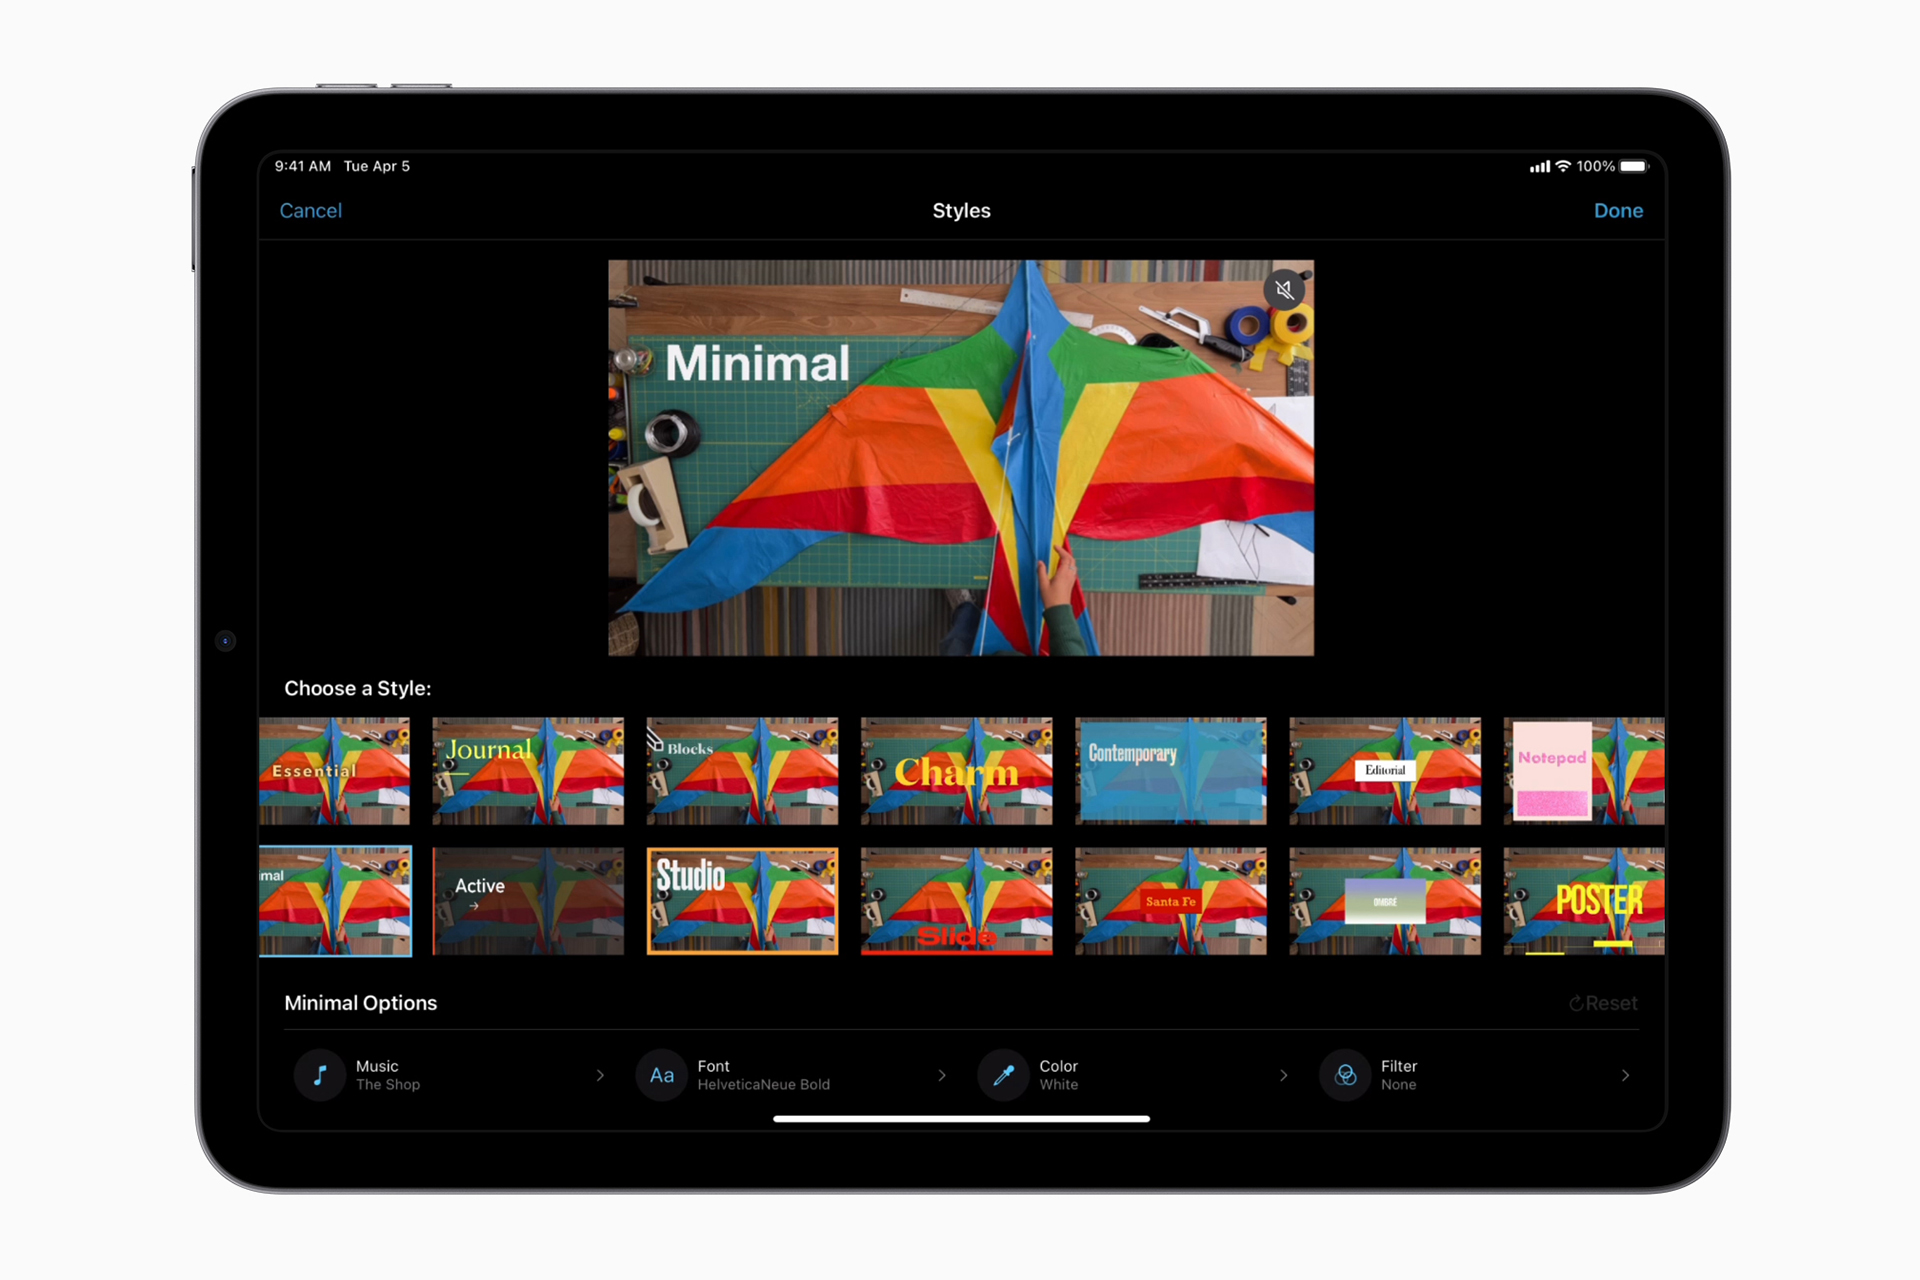
Method 4: Adding Text with iMovie Alternatives
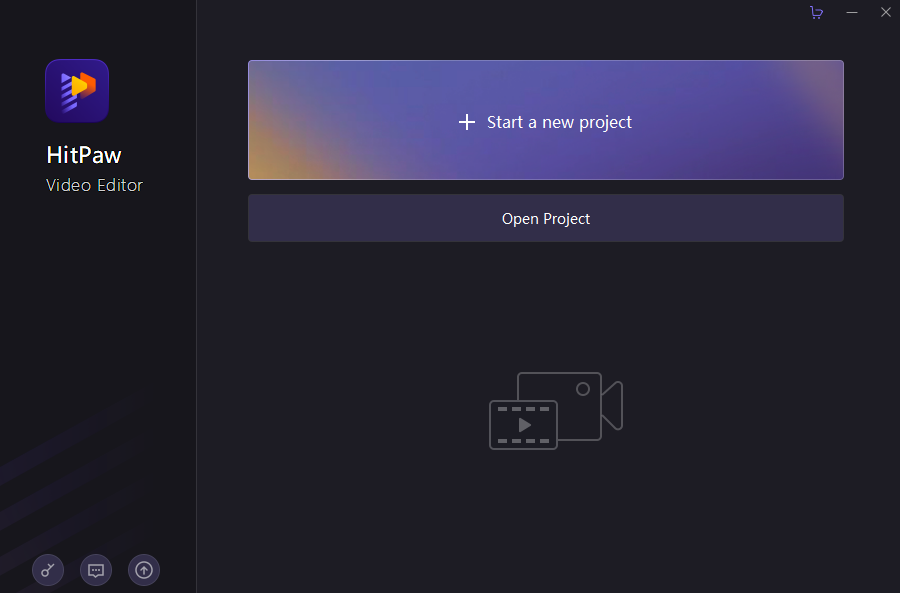
Using HitPaw Video Editor
Download and Launch HitPaw Video Editor: Start by downloading and installing the HitPaw Video Editor software on your computer. You can find versions for both Windows and Mac. Once installed, launch the program.
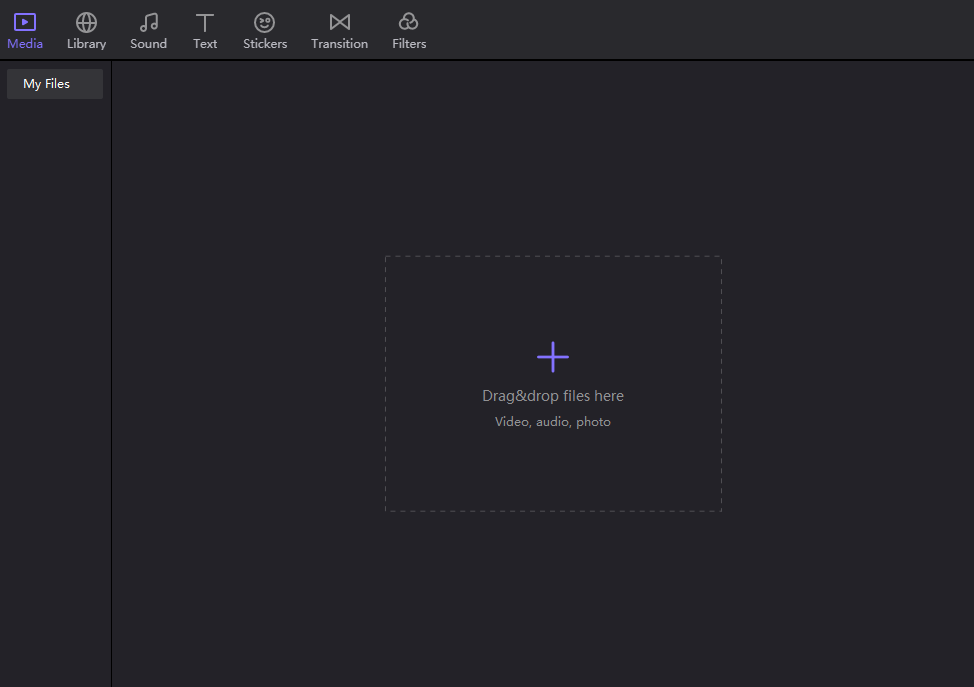
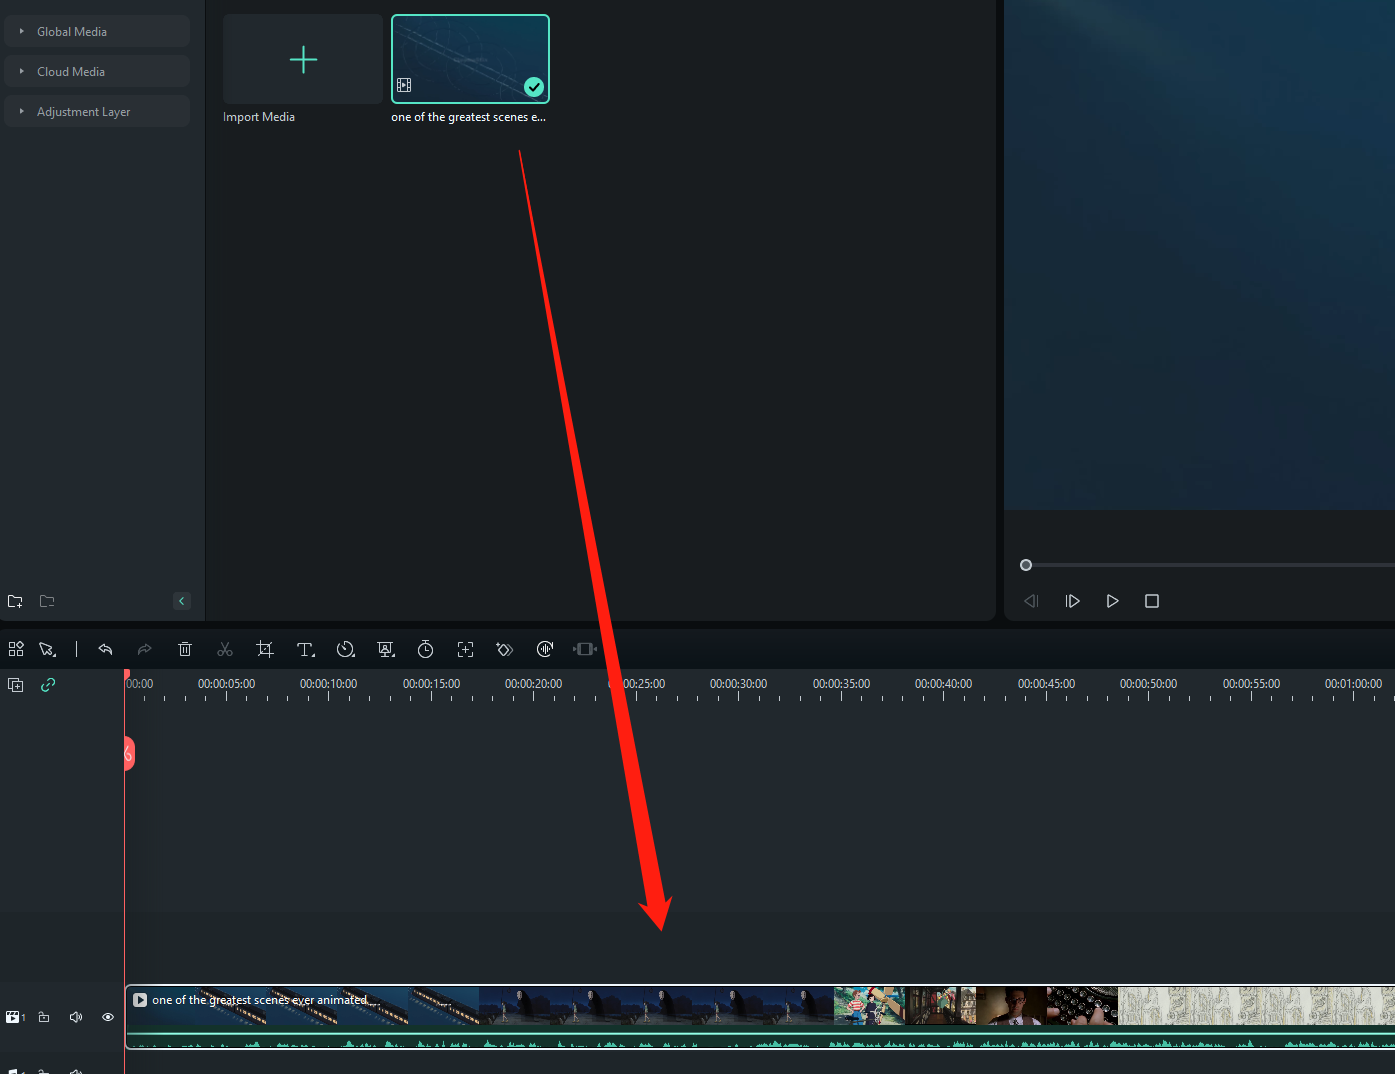
Import Video: Drag and drop the video clip you want to work with onto the HitPaw Video Editor interface. You can also use the software’s import option to add your video.
Add Timed Subtitles: In HitPaw Video Editor, you can add timed subtitles to your video to enhance the viewer’s experience. Look for the subtitle option or tab within the software. This is where you’ll be able to input text that corresponds to specific time points in the video.
Customize Subtitles: For each subtitle, you can customize the text content, font style, size, color, and position. This gives you the flexibility to create subtitles that match your video’s style.
Position Subtitles: Adjust the position of the subtitles by dragging them to the desired location on the video scene.
Preview and Edit: Play the video within the editor to see how the subtitles interact with the content. Make any necessary adjustments to the timing, positioning, or appearance of the subtitles based on your preview.
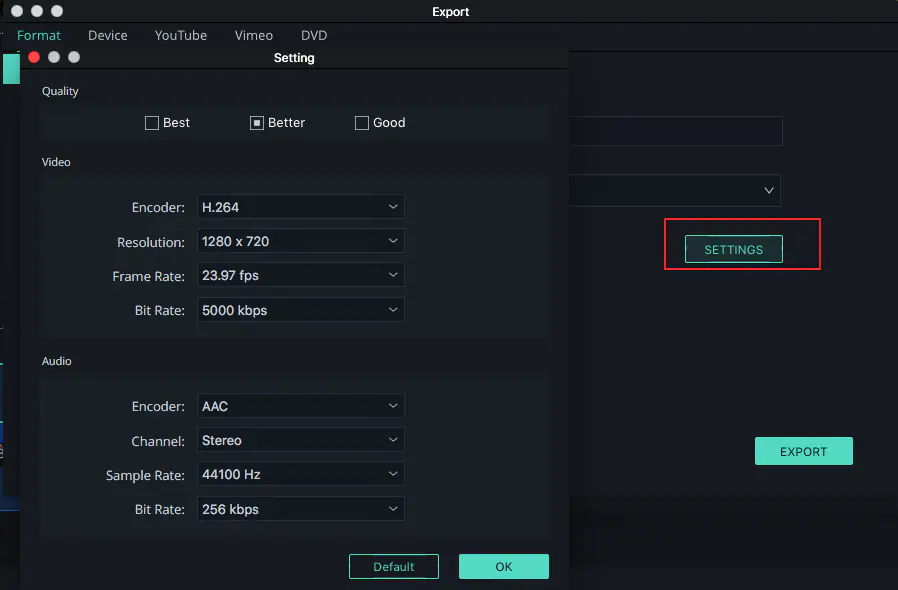
Export Settings: Once you’re satisfied with the subtitles and the overall video, click on the “Export” button. This will open the export settings menu.
Output Settings: In the export settings, you can choose the output format, resolution, quality, and other relevant options for your video. This step ensures that the final video meets your desired specifications.
Save the Video: After configuring the export settings, choose the destination folder where you want to save the edited video. Click the “Export” or “Save” button to start the rendering process.
Review and Share: Once the rendering process is complete, review the final video to ensure that the subtitles have been added correctly. You can then share the video with others or upload it to your preferred platform.
HitPaw Video Editor offers a user-friendly interface for adding text elements like subtitles to your videos.
Using Wondershare Filmora
Import Media: Launch Wondershare Filmora and start a new project. To import your video clips or photos, click on the “Import Media” option in the editor interface. You can either use the import button or drag and drop your files directly onto the interface.
Add Text Effect: Click on the “Title” tab within the editor. This is where you’ll find various text effects. Choose the text effect that suits your project. Once you’ve selected the effect, drag and drop it into the timeline at the point where you want the text to appear in your video.
Adjust Text Position: After adding the text effect to the timeline, adjust its position by dragging it to the desired location on the video scene.
Customize Text Settings: Double-click on the text layer in the timeline to access the text customization window. Here, you can fine-tune the appearance of the text. You can adjust the text color, font, and the actual content of the text.
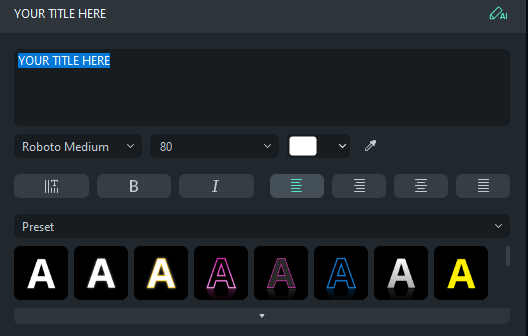
Advanced Text Settings: Explore advanced settings within the text customization window to further refine the appearance of your text. These settings might include options to adjust text animation, transparency, and more.
Preview: Play the timeline to see how the text appears in your video. Make any necessary adjustments to the text’s appearance or position based on how it interacts with the video scene.
Export or Share: When you’re satisfied with the text’s appearance and placement, click on the “Export” button. Choose your desired export settings, file format, and quality. You can also directly upload your video to platforms like YouTube or Vimeo from within the software to share it with others.
Wondershare Filmora offers a comprehensive set of tools for adding text and other creative elements to your videos. Keep in mind that the user interface and features might evolve with updates, so it’s recommended to explore the available options within the software for the most up-to-date guidance.
The Bottom Line
Whether you’re using iMovie on Mac, iPhone, or iPad, adding text to your videos is a straightforward process that enhances your storytelling and communication. From selecting text styles to customizing fonts and positioning, iMovie offers a range of options to make your text seamlessly integrate with your video content. Additionally, for those seeking alternatives, software like HitPaw Video Editor and Wondershare Filmora provide user-friendly interfaces for adding text elements and subtitles to videos, expanding creative possibilities.