Adding Date Stamps to Photos: A How-To Guide

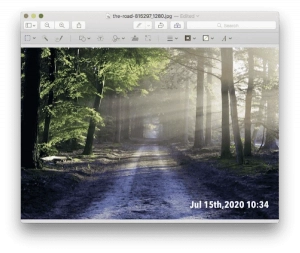
In today’s digital world, it’s important to add a date stamp on pictures. It provides important information about when a photo was taken and helps preserve memories accurately. Join us as we discover how to enhance our photos with date stamps, ensuring accurate context and organization.
1. Adding Date Stamp with Camera Settings
Adding a date stamp to your photos can be conveniently done using the built-in settings on your camera.
◉Access the Camera Settings Menu
Turn on your camera and navigate to the settings menu. The location and appearance of the settings menu may vary depending on your camera model.
◉Locate the Date Stamp or Date/Time Setting
Within the settings menu, search for an option related to the date stamp or date/time. It might be listed under the “Capture Settings,” “Recording Options,” or a similar category.
◉Enable the Date Stamp Feature
Once you have located the date stamp setting, select it to enable the feature. Some cameras may offer different options for date stamp display, such as date only, time only, or date and time together. Choose the option that suits your preference.
◉Customize the Date Stamp Format and Position
You may be able to alter the size and placement of the date stamp on your photos, depending on the camera you use. This allows you to choose the font style, size, color, and the location where the date stamp will appear on the photo. Explore the settings menu to adjust these parameters according to your preferences.
◉Confirm and Save Settings
After customizing the date stamp settings, make sure to review your changes and confirm them in the settings menu. Your camera will now automatically add the date stamp to each photo you capture.
Note: It’s essential to keep your camera’s date and time settings accurate for the date stamp to be reliable. Ensure that the correct date, time, and time zone are set in your camera’s settings.
2. How to Add a Date Stamp Using Photo Editing Software?

Follow these steps to apply a date stamp to a photo using Ribbet Photo Editor:
Step 1: Download and Run Ribbet Photo Editor
Launch the Ribbet Photo Editor on your computer.

Step 2: Import the Image
To load a picture into the editor, either click “Open” or drop it into the window.

Step 3: Select the Text Tool
In the left menu of Ribbet, locate and click on the “Text” option.

Step 4: Add Text to the Photo
Once the Text Tool is selected, click on the “Add Text” button. A text box will appear on your image.
Step 5: Enter Desired Text
Double-click inside the text box and enter the desired text, which can be the specific date you want to add as a date stamp.
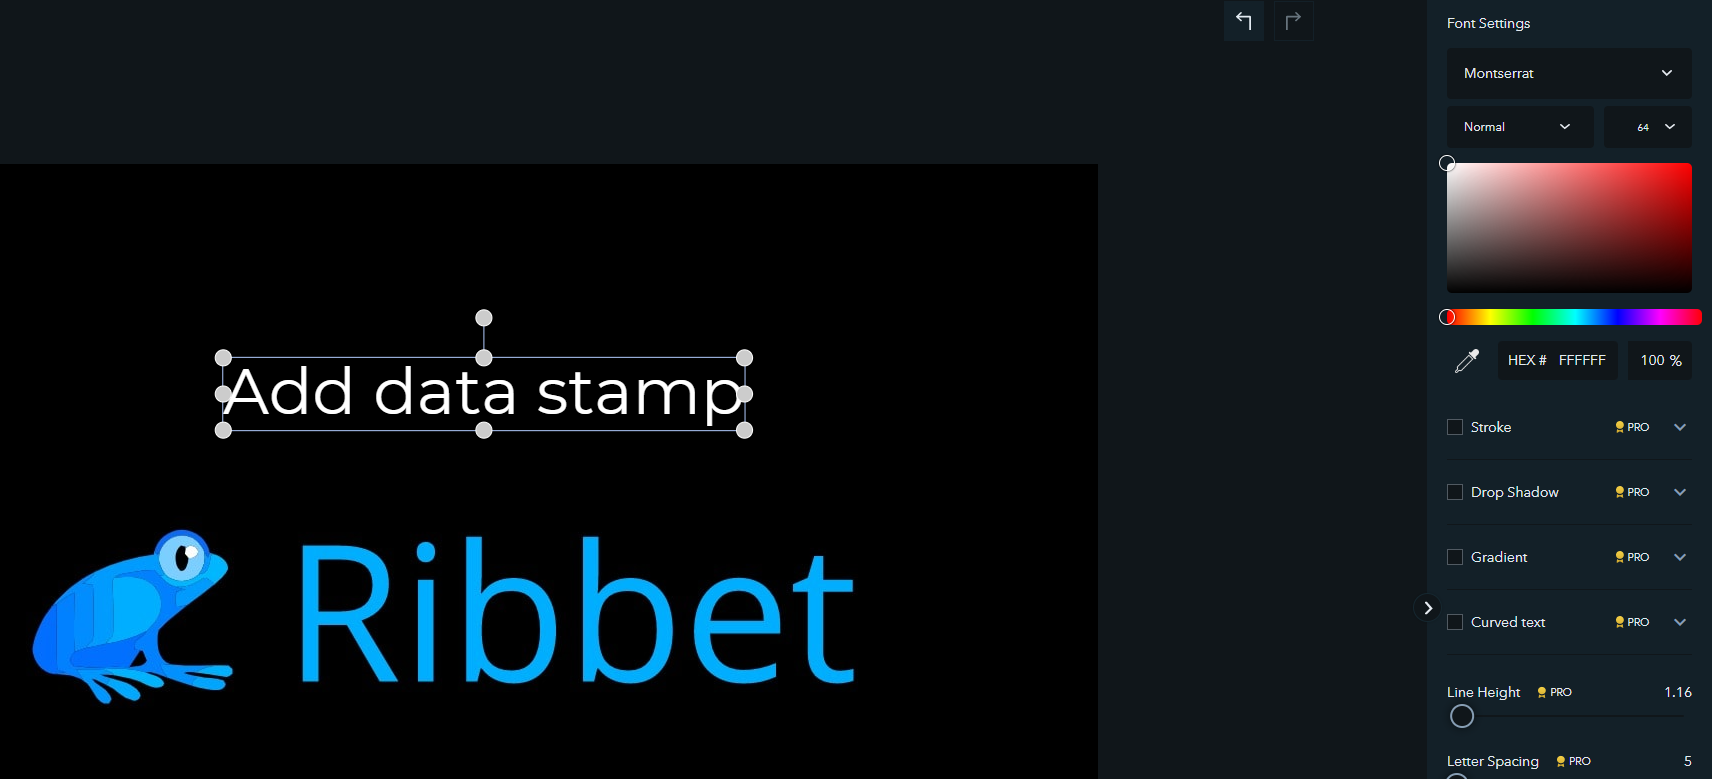
Step 6: Choose Font
In the right panel, you will find a font drop-down list. Click on it to access various font options. Select the font you prefer for your date stamp.
Step 7: Adjust Color
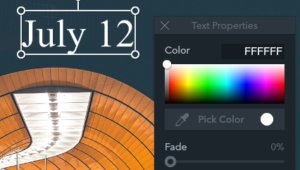
To change the color of the text, locate the color picker tool in the right panel. Click on it to open the color palette and select the desired color for your date stamp.
Step 8: Position the Date Stamp
Click and drag the text box to position the date stamp at your preferred location on the photo. You may also resize the text box by grabbing its corners and moving them.
Step 9: Save the Edited Photo
Once you are satisfied with the placement and appearance of the date stamp, click on the “Save” or “Export” button to save the edited photo. Choose your desired file format and save location.
After following these steps, Ribbet Photo Editor will have added a date stamp to your photo according to your specifications. Remember to save a copy of the edited photo to preserve the original photo without the date stamp if needed.
3. Step Guide on Adding a Date Stamp to a Photo Online for Free
3.1 How to Add a Date Stamp with Ribbet
Follow these steps to apply a date stamp to a photo online for free using Ribbet:
Step 1: Open Ribbet
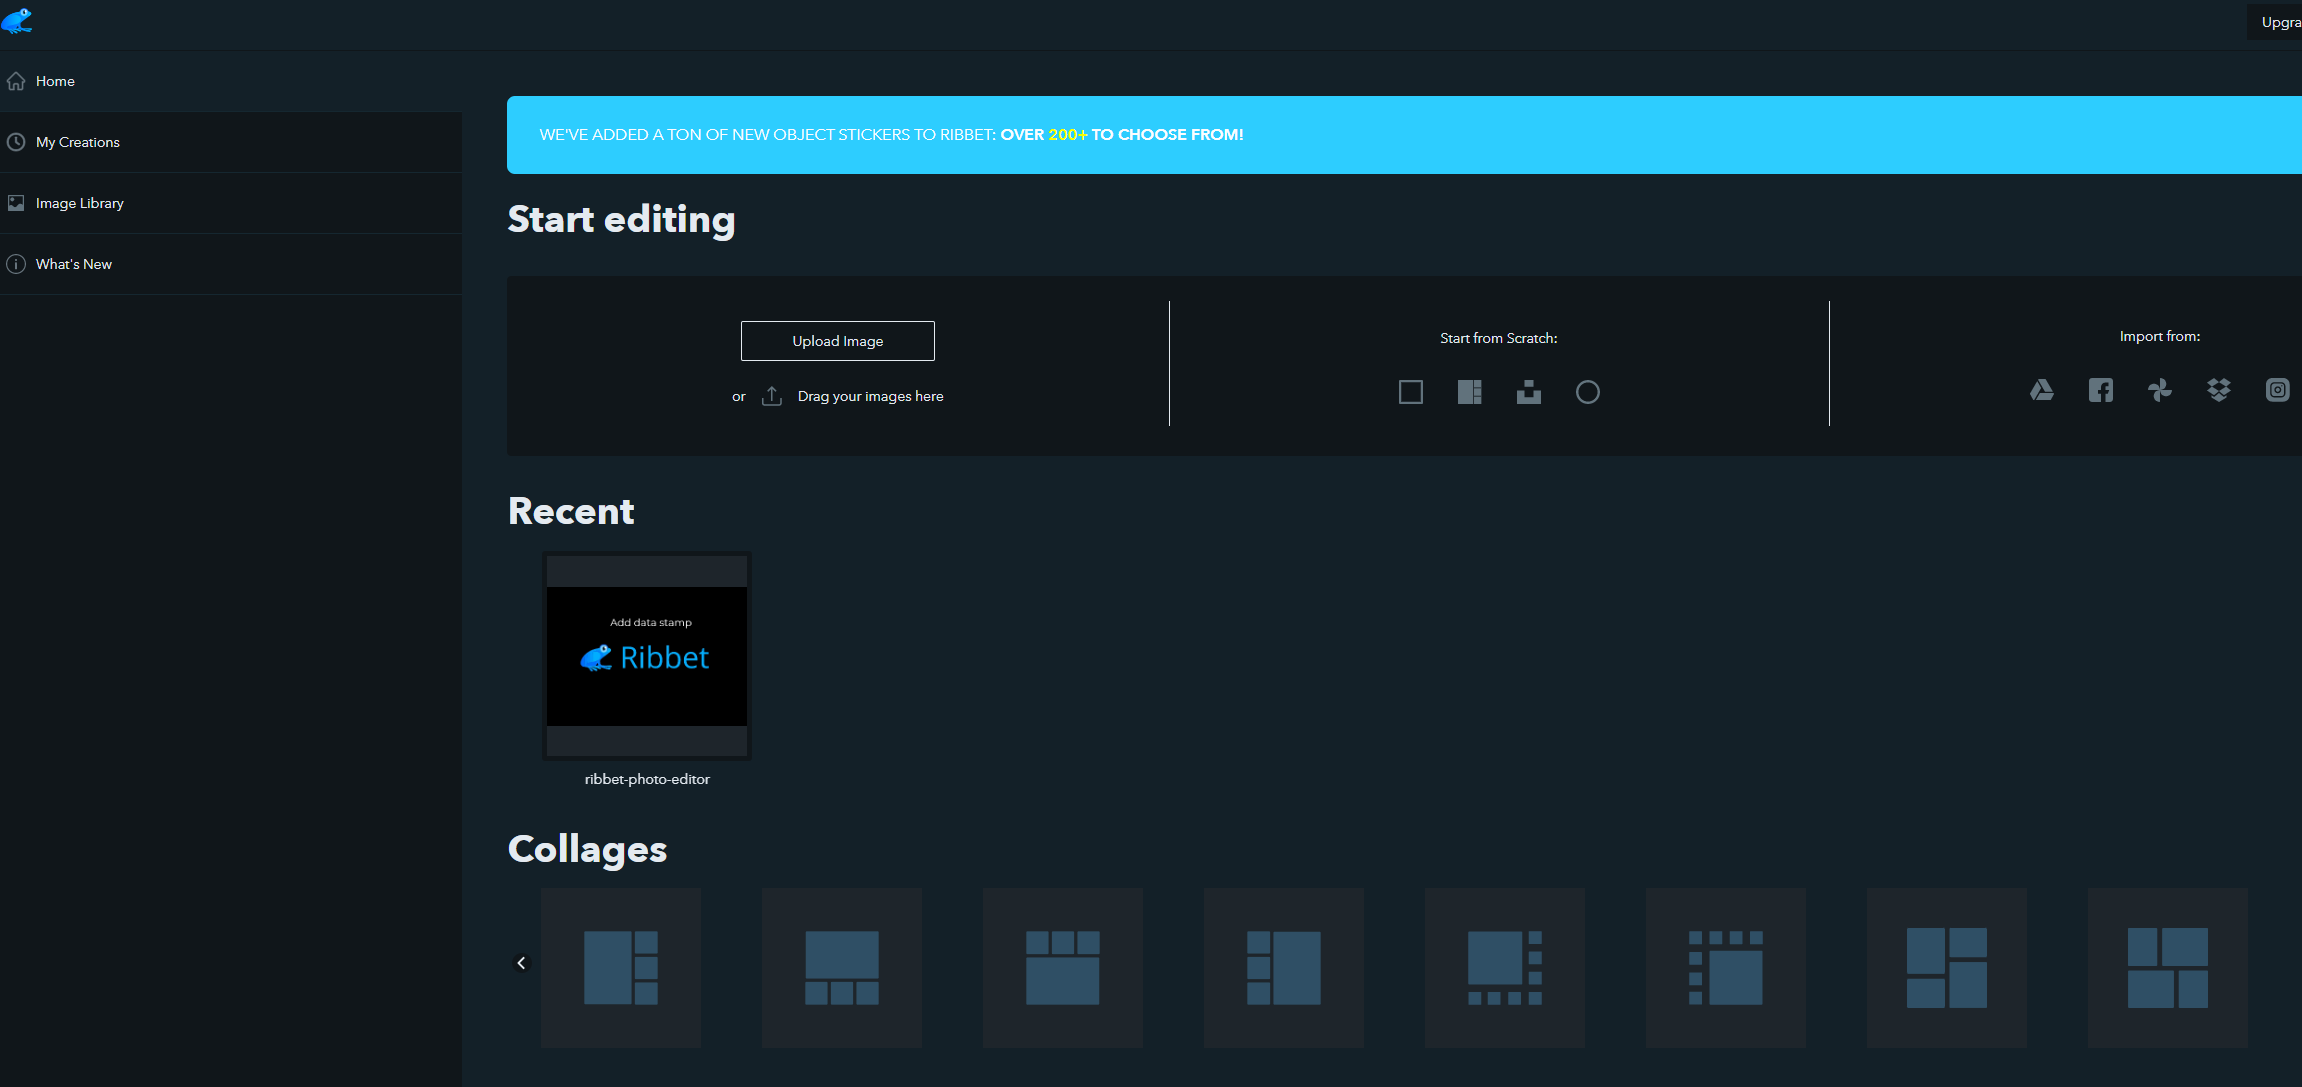
Launch Ribbet in your web browser.
Step 2: Import the Image

Click on the “Open” or “Upload” button to import the image you want to edit into Ribbet.
Step 3: Select the Text Tool
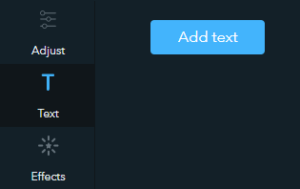
Locate the “Text” option in the left menu and click on it.
Step 4: Add Text to the Photo
Click the “Add Text” button. This will create a text box on your image.
Step 5: Enter Desired Text
Double-click inside the text box and enter the desired text, such as the date you want to add as a date stamp or a custom watermark.
Step 6: Choose Font
In the right panel, find the font drop-down list and select the font you prefer for the date stamp or watermark.
Step 7: Reposition the Text Box
Click and drag the text box to reposition it on your photo. Place it in the desired location.
Step 8: Enter the Date
Modify the text within the text box to display the desired date or custom text for the watermark.
Step 9: Adjust Color, Size, and Effects
Use the options in the right panel to customize the color, size, and special effects of the text. The text’s color, size, and the presence of effects like shadows and outlines may all be modified with a simple color picker.
Step 10: Save the Edited Photo
Once you are satisfied with the appearance of the date stamp or watermark, click on the “Save” or “Export” button to save the edited photo. Choose your preferred file format and save location.
By following these steps in Ribbet, you can add a date stamp or watermark to your photo conveniently and for free.
3.2 How to Add a Date Stamp with PDFelement?
Follow these instructions to add a time and date stamp to a photo in PDFelement:
Step 1: Launch PDFelement

Open PDFelement on your device. This guide specifically refers to the iOS version.
Step 2: Insert the Image
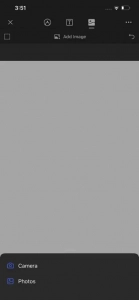
Import the PDF file containing the photo you want to edit. PDFelement allows you to insert images into any page or section of the PDF file.
Step 3: Locate the Image
Select the photo you wish to stamp with a date and go to the page where it appears.
Step 4: Crop the Image
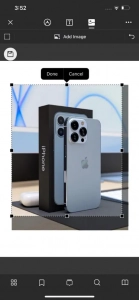
If needed, use the cropping tool in PDFelement to adjust the size and remove any irrelevant parts of the image. This ensures a professional and clean appearance.
Step 5: Add Text to the Image

With PDFelement, you can easily add a date stamp or any other text to the image. Select the appropriate tool for adding text and choose the desired position on the image.
Step 6: Enter the Date Stamp
Type in the specific date or any other relevant information you want to include as the date stamp. Ensure that the font, size, and color are legible and suitable for the image.
Step 7: Customize the Date Stamp
PDFelement provides options to customize the appearance of the date stamp. You may customize the layout to your tastes by changing the font, size, color, and more.
Step 8: Save the Edited PDF
Once you are satisfied with the date stamp on the image, save the edited PDF file. PDFelement offers options to save it locally on your device or to share it through various means.
By following these steps using PDFelement, you can add a date stamp to your photo within a PDF document.
4. Conclusion
Adding a date stamp to your photos is a useful way to provide context and information about when the photo was taken. Whether you prefer to utilize your camera’s built-in settings, photo editing software like Ribbet, or online tools like PDFelement, there are various options available to add date stamps to your photos.