How to Transfer Music from iPod to iPhone?

How can one consistently transfer their cherished music collection from an iPod to an iPhone, exploring the advancing landscape of technology and user preferences? This paper investigates different avenues, including iTunes, AirDrop, Apple Music, and third-party software, to supply a comprehensive direct to exchanging music between these Apple devices.
1. How to Transfer Music From iPod to iPhone Using iTunes?
Connect Devices: Use USB cables to associate both your iPod and iPhone to your computer.
Open iTunes: Launch iTunes on your computer. Make beyond any doubt you have got the most recent form of iTunes installed.
Authorize Computer: If prompted, authorize your computer for both your iPod and iPhone utilizing your Apple ID.
Backup iPod (Optional): Before making any changes, it’s a great thought to back up your iPod’s music. Right-click (or Control-click) on your iPod’s name within the left sidebar and select “Backup.”

Transfer Music from iPod to Computer:
-
Click on your iPod’s symbol in the upper-left corner of iTunes.
-
In the left sidebar, press on “Music” beneath your iPod’s title to appear in your music library.
-
Select the songs you want to transfer to your iPhone. You’ll select individual tunes, albums, or playlists.
-
Drag and drop the chosen music to a folder on your computer to make a backup.
Disconnect iPod: Once the music transfer is total, securely discharge and detach your iPod from the computer.
Connect iPhone: Connect your iPhone to the computer utilizing the same USB cable.

SyncMusic to iPhone:
-
Click on your iPhone’s symbol within the upper-left corner of iTunes.
-
In the left sidebar, tap on “Music” to open the music syncing options.
-
Choose either “Sync Music” or “Selected playlists, artists, albums, and genres,” depending on your preference.
-
If you select “Match up Music,” select the alternative to adjust your whole music library or particular playlists, craftsmen, collections, etc.
-
If you select “Selected playlists…” select the playlists, artists, albums, etc., you need to sync.
-
Click the “Apply” button at the bottom-right to begin syncing the chosen music to your iPhone.
Complete Sync: Hold up for the syncing handle to total. This might take a few times depending on the sum of music you’re transferring.
2. How to Transfer Music From iPod to iPhone Using AirDrop?
Enable AirDrop:
-
On both your iPod and iPhone, make sure AirDrop is enabled.
-
On your iPod: Swipe up from the foot of the screen to open the Control Center. Press and hold the network settings card within the upper-left corner, at that point tap on “AirDrop” and select “Contacts As it were” or “Everyone.”
-
On your iPhone: Follow the same steps to empower AirDrop.
Select Music on iPod:
-
Open the Music app on your iPod.
-
Browse and select the music you need to transfer. You’ll select individual songs, albums, or playlists.
Share via AirDrop:
-
Tap the “Share” button (ordinarily represented by a box with an arrow indicating up). You’ll discover this button within the music player or within the list see of your chosen music.
-
A list of sharing choices will show up. See for the AirDrop section.
-
You ought to see your iPhone’s title recorded within the AirDrop options. Tap on your iPhone’s name.
Accept on iPhone:
-
On your iPhone, a notification will pop up, showing that the iPod needs to share music with you by means of AirDrop.
-
Tap “Accept” on the notice to start the transfer.
Complete Transfer:
-
The selected music records will be exchanged from your iPod to your iPhone via AirDrop.
-
Once the transfer is total, the music will be available in the Music app on your iPhone.
Verify Transfer:
-
Open the Music app on your iPhone and navigate to the appropriate area (Tunes, Collections, or Playlists) to ensure that the transferred music is there.
AirDrop is a helpful and direct method for exchanging a little number of music records specifically between Apple devices.
3. How to Transfer Music From iPod to iPhone Using Apple Music?
Transferring music from an iPod to an iPhone using Apple Music includes uploading your music from the iPod to your Apple Music library and after that downloading it to your iPhone. If you don’t mind, note that you just require an active Apple Music membership for this strategy. Here’s how you’ll do it:
Step 1: Upload Music from iPod to Apple Music Library
On Your Computer:
-
Make sure you’ve got the most recent version of iTunes on your computer.
-
Connect your iPod to your computer using a USB cable.
-
Open iTunes and click on the iPod icon.
-
In the left sidebar, under “Settings,” click on “Music.”
-
Check the box following to “Adjust Music” to empower music syncing.
-
Choose whether you need to match up your whole music library or particular playlists, craftsmen, collections, etc.
-
Click the “Apply” button to begin syncing. This will duplicate your iPod’s music to your iTunes library.
Upload to Apple Music:
-
On your computer, open the Music app or iTunes (depending on your macOS version).
-
Make beyond any doubt you’re marked in with the same Apple ID you utilize on your iPhone.
-
Go to “File” (or the Music app menu) and select “Library” > “Update iCloud Music Library.” This will transfer the music from your computer’s iTunes library to your Apple Music library.
Step 2: Download Music to iPhone
-
On your iPhone, make sure you’re marked into the same Apple ID you utilized on your computer.
-
Open the Apple Music app.
-
Go to your “Library.”
-
You should see the music you uploaded from your iPod within the “Songs,” “Albums,” “Artists,” or “Playlists” sections, depending on how you organized your library.
-
Tap the download symbol (a cloud with a descending bolt) another to the tunes, collections, or playlists you need to download to your iPhone. This will make them accessible offline on your iPhone.
Step 3: Verify Transfer
-
Once the download is total, you’ll listen to the transferred music on your iPhone without requiring a dynamic web connection.
4. How to Transfer Music From iPod to iPhone Using Third-Party Software?
4.1 Using EaseUS MobiMover
Step 1. Interface Devices
-
Connect both your iPod and iPhone to your computer utilizing consistent USB cables.
-
When incited, tap “Believe This Computer” on the gadgets to set up the connection.
-
Run EaseUS MobiMover on your computer.
Step 2. Select Transfer Direction and Data
-
In MobiMover, select the “Phone to Phone” mode.
-
Select the direction of exchange (from source to goal) – in this case, from iPod to iPhone.
-
Select the sorts of information you need to exchange. Since you’re inquisitive about exchanging music, make sure to choose the music-related options.
Step 3. Initiate the Transfer
-
Click the “Following” button to proceed.
-
MobiMover will analyze and stack the chosen information sorts from your iPod.
-
Once the examination is total, press the “Exchange” button to start the exchange process.
Step 4. Wait for Exchange Completion
-
Allow MobiMover to transfer the chosen information from your iPod to your iPhone.
-
Wait calmly for the method to wrap up. The duration will depend on the sum of information being transferred.
Step 5. Verify Transfer
After the transfer is complete, you’ll be able to get the comparing apps on your iPhone to check the exchanged records. For music, these records will be accessible within the Music app.
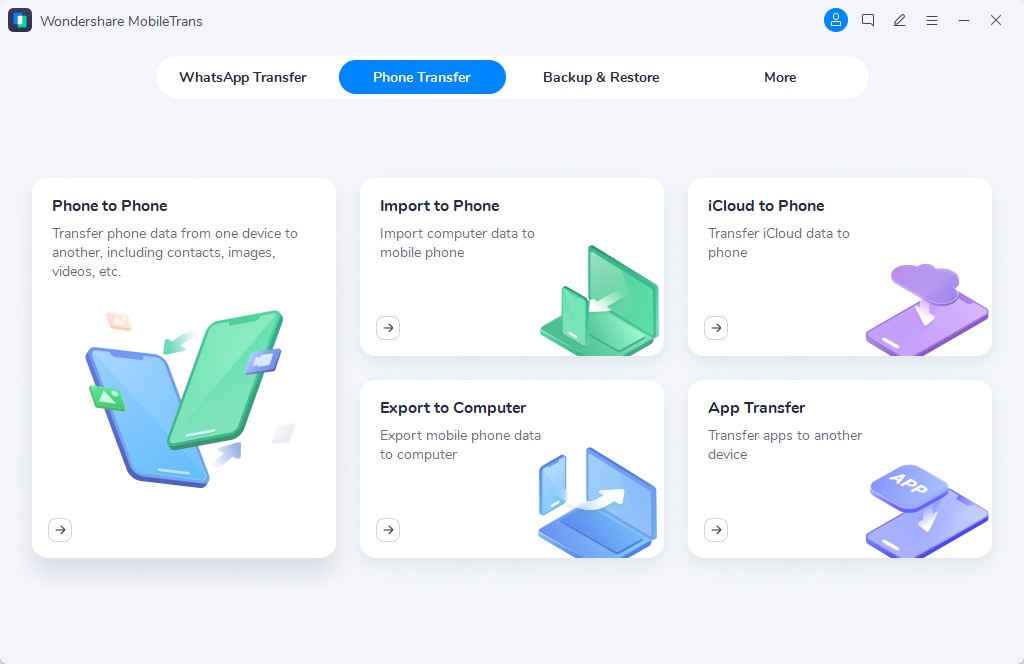
4.2 Using MobileTrans
Step 1: Interface Devices
-
Install MobileTrans on your computer and dispatch it.
-
Open the “Phone Exchange” module.
-
Connect both your iPod and iPhone to the computer utilizing USB cables.
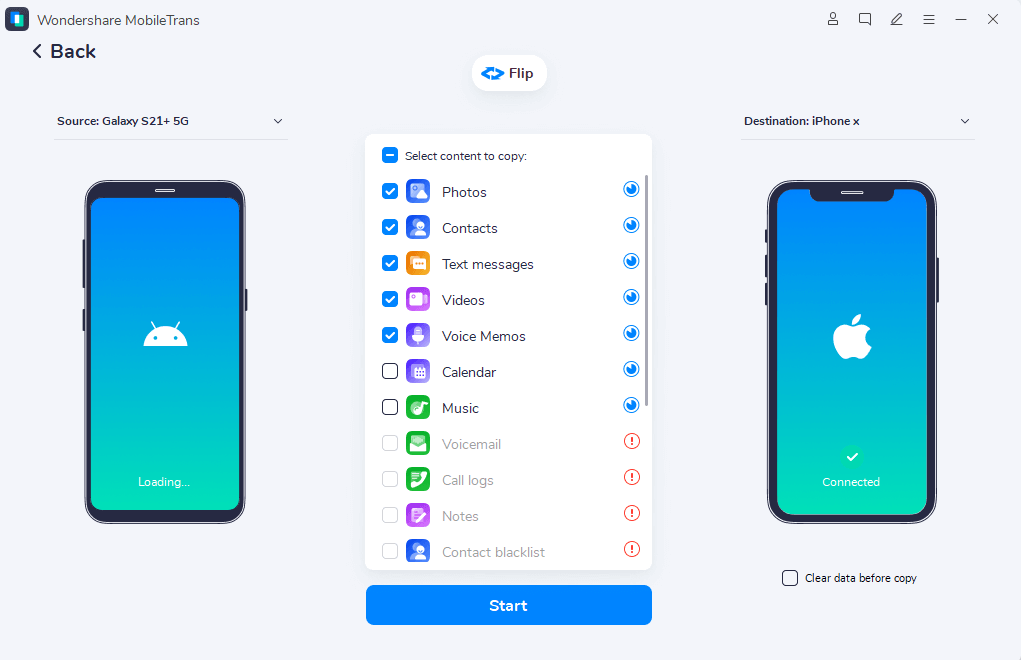
Step 2: Select Information Sort and Devices
-
In MobileTrans, make sure beyond any doubt your iPod is stamped as the source gadget and your iPhone as the goal gadget. Utilize the “Flip” button to switch their positions if needed.
-
From the list of backed information sorts, select “Music” (or any other sort of information you need to transfer).
-
Optionally, empower the “Clear information some time recently duplicate” alternative to erase existing information on your iPhone some time after the transfer.
Step 3: Start the Transfer
-
Click the “Begin” button to start the exchange process.
-
MobileTrans will start exchanging the chosen music (or information) from your iPod to your iPhone.
-
Once the transfer is total, you’ll get a notification.
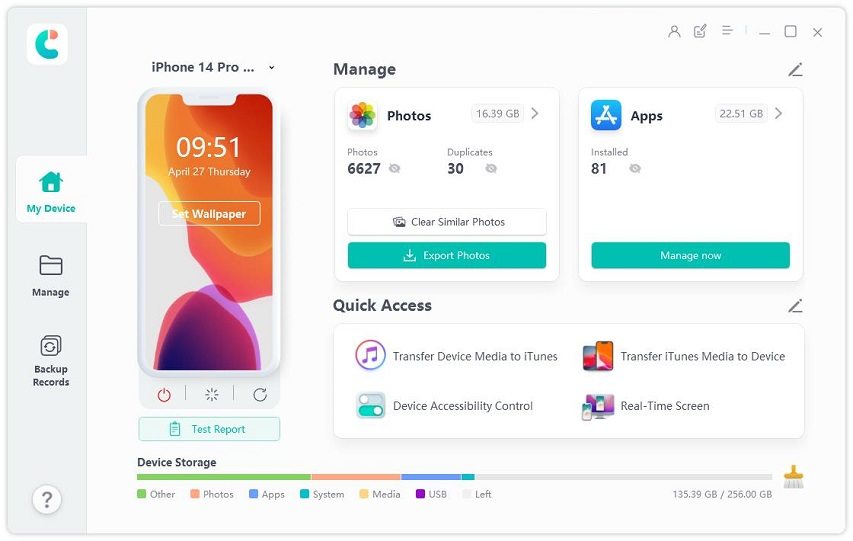
4.3 Using Tenorshare iCareFone
Step 1: Download and Install Tenorshare iCareFone
-
Download and install Tenorshare iCareFone on your computer.
Step 2: Connect iPod to Computer
-
Use a USB cable to connect your iPod to your computer.
-
Launch Tenorshare iCareFone.
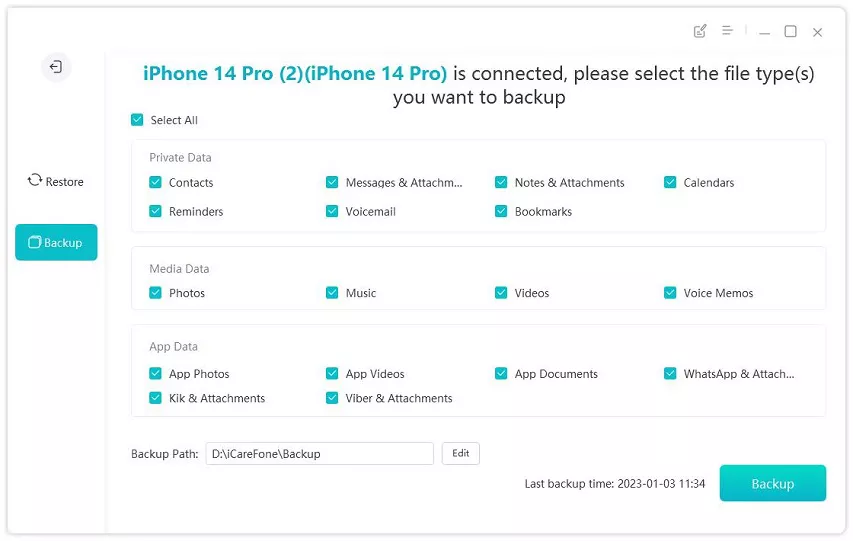
Step 3: Backup Music from iPod

-
In Tenorshare iCareFone, press on the “Backup & Restore” tab from the top menu.
-
Check the box another to “Music” to choose it for backup.
-
Click on the “Backup” button to begin backing up the music from your iPod.
Step 4: Disconnect iPod and Interface iPhone

-
Once the reinforcement is completed, safely disconnect your iPod from the computer.
-
Connect your target iPhone to the computer using a USB cable.
Step 5: Select Reinforcement and Restore
-
In Tenorshare iCareFone, tap on the “Backup & Restore” tab again.
-
You ought to see the reinforcement you made from your iPod recorded there. Select it.
Step 5: Choose Music to Restore
-
Within the chosen reinforcement, you’ll see the diverse sorts of information that were supported up, counting music.
-
Select the music files you need to transfer from the backup to your iPhone.
Step 6: Restore to Device

-
After selecting the music records, press on the “Restore to Device” button.
-
Choose your target iPhone as the gadget you need to reestablish the chosen music to.
Step 7: Transfer Completed
-
The computer program will start transferring the chosen music records from the iPod backup to your iPhone.
-
Once the transfer is complete, you’ll have the music on your iPhone.
5. Final Thoughts
There are a few strategies accessible to transfer music from an iPod to an iPhone, catering to diverse preferences and requirements. Utilizing iTunes permits for conventional syncing between devices, whereas AirDrop gives a remote alternative for fast exchanges. Apple Music offers an arrangement for those with an active subscription, utilizing the cloud for seamless transfers. Third-party computer programs like Tenorshare iCareFone offer an elective approach, ensuring information security and flexibility within the exchange handle. Depending on person needs, these methods offer different ways to realize an effective exchange of music between Apple devices.