Disadvantages of Using the Same Apple ID on Two iPhones

Are there ways to efficiently share files and data between iPhones without resorting to the use of the same Apple ID? This paper delves into alternative methods that offer the convenience of data transfer while maintaining distinct individual identities on each device.
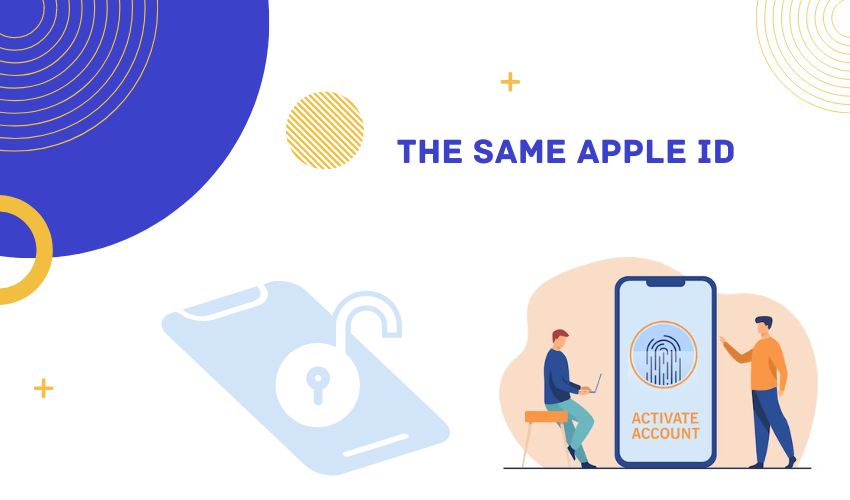
1. Is it feasible to utilize the identical Apple ID on two distinct devices?
Undoubtedly, it is possible to employ the same Apple ID on two separate iPhones. This feature enables you to share app purchases, iCloud storage, iMessage conversations, and other data between the two devices. It is particularly advantageous if you possess multiple Apple devices and desire a uniform experience across all of them. To achieve this, simply utilize the same Apple ID when configuring your devices or whenever you modify your settings.
2. Advantages of logging in to two devices with the same Apple ID
The utilization of a common Apple ID enables the sharing of app purchases, music, movies, and other media content between two devices. This practice can result in cost savings as it eliminates the need to purchase the same content twice.
The implementation of a Unified Experience is achieved through the synchronization of a singular Apple ID across multiple devices, resulting in a seamless and consistent user experience. This includes the replication of app layouts, wallpapers, and preferences across all synced devices.
The iCloud Synchronization feature enables the synchronization of diverse data, including photos, contacts, and calendars, across multiple devices through the utilization of a singular Apple ID. This functionality ensures the availability of identical information, irrespective of the device in use.
By utilizing the same Apple ID for messaging and FaceTime, conversations and call history are automatically replicated on all devices. This functionality simplifies the task of managing communications across multiple devices.
With the same Apple ID, you can easily track the location of either device using the “Find My” feature.
3. Disadvantages of logging in to two devices with the same Apple ID
3.1 Message Confusion
When using the same Apple ID for iMessage, you might receive messages intended for one device on the other, causing confusion.
3.2 Privacy Concerns
Sharing an Apple ID means sharing iCloud data, which could be a privacy concern, especially if you have sensitive data on one of the devices.
3.3 App Conflicts
Some apps might not handle being used simultaneously on two devices with the same Apple ID. This can lead to data synchronization issues or unexpected behavior.
3.4 Storage Limitations
Sharing iCloud storage between devices might lead to space constraints, especially if both devices are used heavily for photos and backups.
Sharing contacts and calendars across multiple devices may not be optimal if you require distinct sets of information on each device.
Modifications to application settings or device preferences on one device may have an impact on the other, which may not be desirable if individualized settings are desired for each device.
3.5 FaceTime Ringing on Multiple Devices
With the same Apple ID, FaceTime calls might ring on both devices, which can be annoying or confusing.
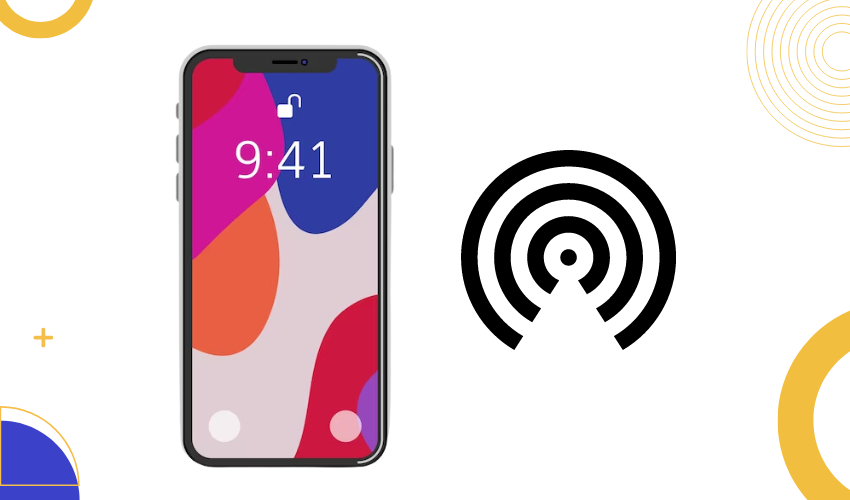
4. How to share files Using AirDrop?
To use AirDrop, turn it on for both iPhones. Swipe down from the top right corner of the screen (or up from the bottom on older models) to open the Control Center. Press and hold the section with the Wi-Fi and Bluetooth options.
4.1 Select Files
Open the app containing the file you want to share. It could be a photo in the Photos app, a document in Files, or a contact in Contacts.
4.2 Tap Share
Find the “Share” or “Send” button within the app. This might look like an arrow pointing upward, or it might be labeled as “Share.”
4.3 Choose AirDrop
In the sharing options, you’ll see a list of nearby AirDrop-enabled devices. Select the iPhone you want to share the file with. The recipient device will receive a notification asking whether to accept the file.
4.4 Accept File
A preview of the file and the sender’s details will appear as a prompt on the recipient’s device. They can accept the file by selecting the “Accept” button.
4.5 Confirmation
Once the file is successfully transferred, both devices will show a confirmation message.
Files can be sent instantly using AirDrop between two Apple devices without the requirement for a common Apple ID. The utilization of Wi-Fi and Bluetooth in tandem facilitates the establishment of a wireless connection between electronic devices. It is imperative to verify that both gadgets possess the AirDrop feature and are situated in close proximity to one another.
AirDrop is a helpful tool for sharing files using Bluetooth and Wi-Fi. But, it may not be the best option for sending big files over long distances. Also, it only works when people are close to each other, which can make it difficult to share files with people who are far away.
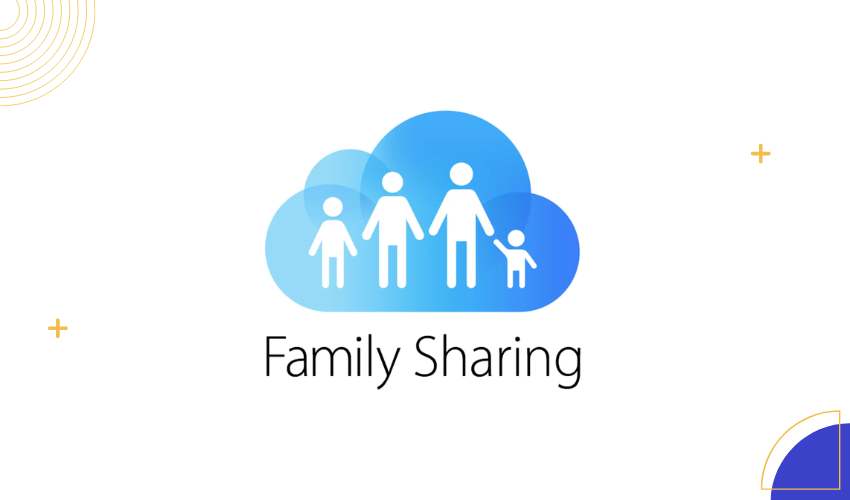
5. How to Share Files Using the Family Sharing Feature?
5.1 Initiate Family Sharing
-
Open the “Settings” app on one of the iPhones.
-
Tap on your Apple ID name at the top of the settings menu.
-
Choose the “Family Sharing” option.
5.2 Set Up Family Sharing
-
Tap “Get Started” if you’re setting up Family Sharing for the first time. If you’ve used Family Sharing before, you can tap “Add Family Member” to invite others.
-
Simply set up Family Sharing by following the on-screen prompts. You’ll be prompted to choose the services you want to share, such as App Store purchases, Apple Music, iCloud storage, etc.
5.2 Invite Family Members
-
To invite others, tap “Add Family Member” and follow the steps to send invitations to their Apple IDs.
-
Each family member will receive an invitation on their device. They need to accept the invitation to join the Family Sharing group.
5.3 Sharing Files
With Family Sharing set up, you can now share files between iPhones using various methods:
a. Family Sharing Photo Album
-
Open the “Photos” app.
-
Create a new shared album by tapping “Shared” at the bottom of the screen, then tap the “+” button to create an album and add family members.
-
If you upload images and videos to the family album, everyone will be able to see them.
b. Shared Notes
-
Open the “Notes” app.
-
Make a new note or select one from your archive.
-
Tap the “Collaborate” button (looks like a person with a plus sign) and select family members to share the note with.
c. Shared iCloud Drive Folder
-
Open the “Files” app.
-
Tap “Browse” at the bottom, then tap ” iCloud Drive.”
-
Press and hold on a folder, then tap “Add People” to invite family members to access the folder.
Family Sharing lets you share services and files with your family while keeping your own Apple ID. You can easily switch content between devices without logging in with the same ID. But remember, you’ll share payment methods and App Store purchases. Make sure you’re comfortable with this before using Family Sharing.
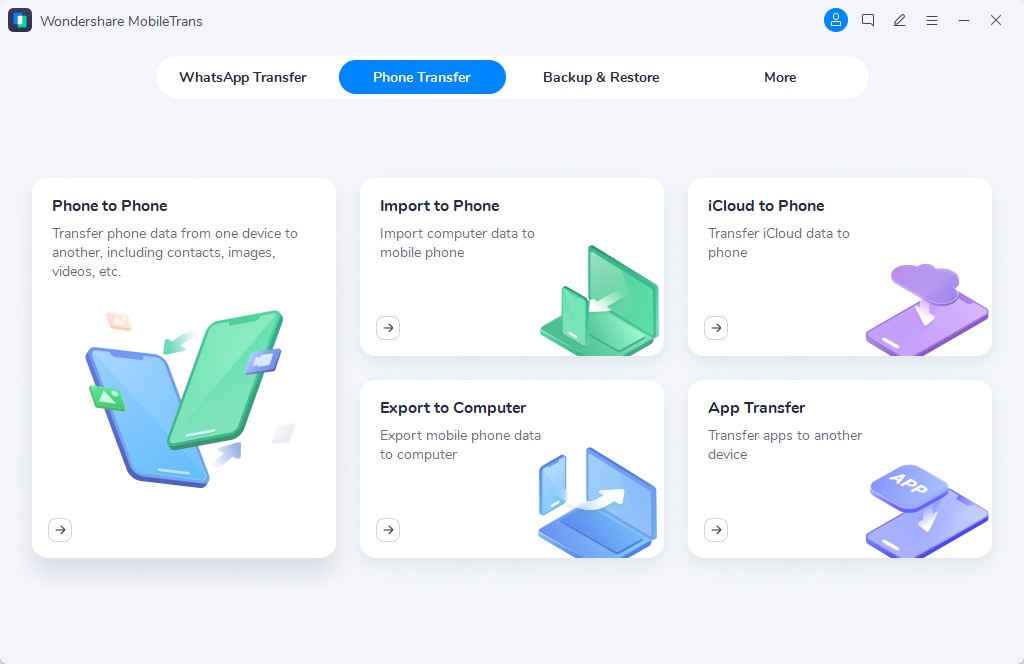
6. Best Alternatives to Sharing Apple IDs on Two iPhones
Here are two alternatives to sharing Apple IDs on two iPhones, along with step-by-step instructions for each method:
Alternative 1: Using MobileTrans
Step 1: Download and Launch MobileTrans
-
Download and install MobileTrans on your computer.
-
Connect both iPhones to the computer using their respective cables.
-
Launch MobileTrans and click on the “Phone Transfer” option from the main interface.
Step 2: Transfer Data from iCloud to Phone
-
Select the “iCloud to Phone” transfer option.
-
Enter the code supplied to your phone into your iCloud account.
Step 3: Choose and Restore Data
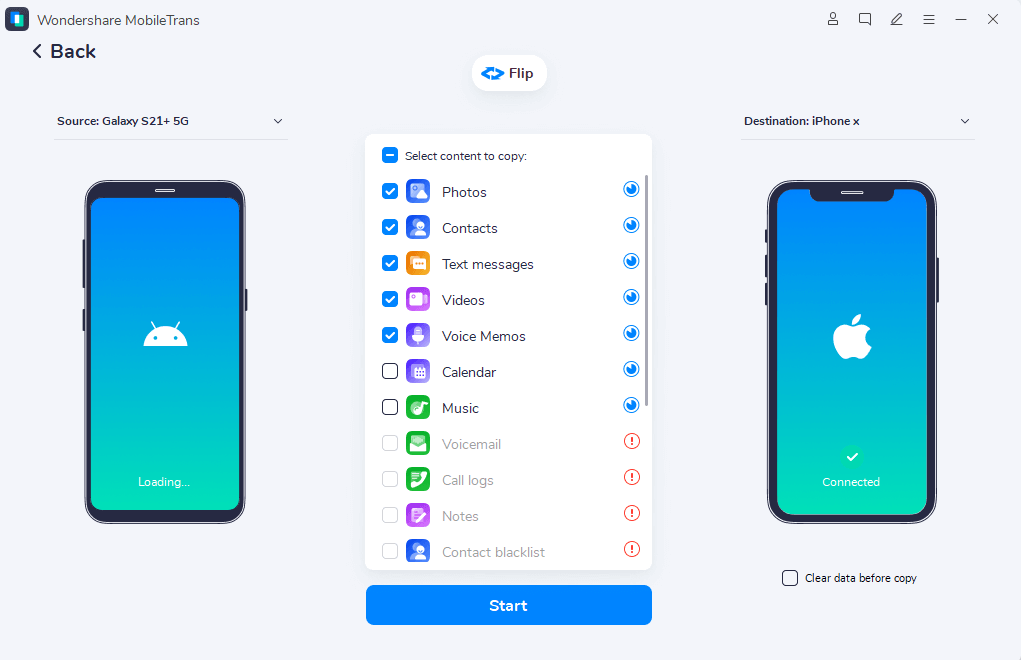
-
Choose the categories of data you want to restore from iCloud.
-
Select the specific files within those categories that you want to transfer.
-
Click the ‘Restore to Device’ button at the bottom right corner.
Step 4: Start Data Restoration
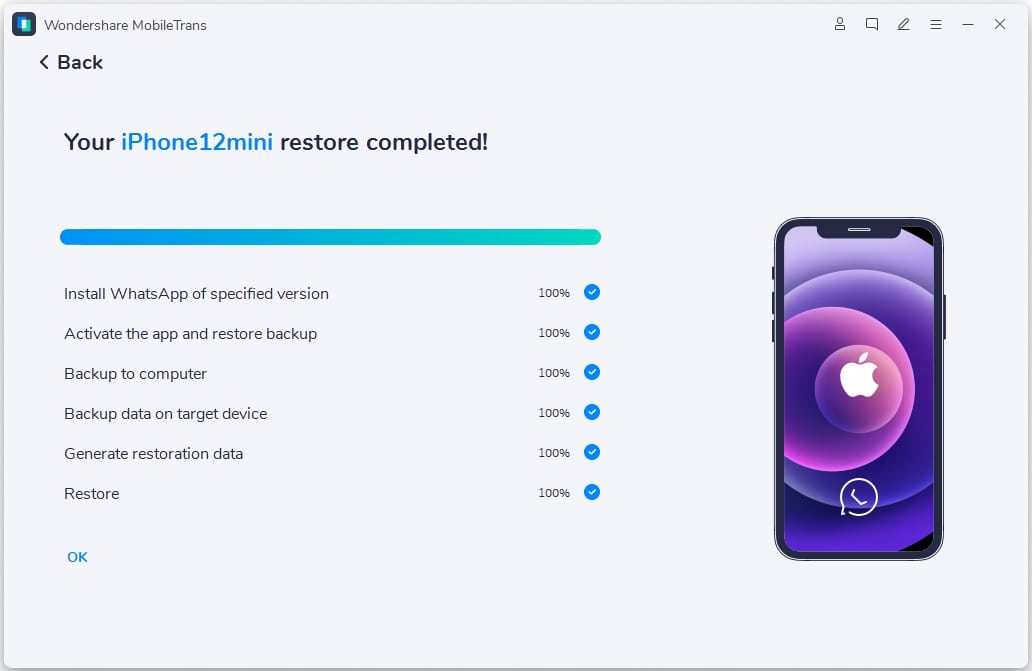
-
To get your iPhone’s data back from iCloud, tap the “Start” button.
-
Wait for the process to complete. This might take a few minutes.
Step 5: Disconnect Your Device
-
After the data is restored to your iPhone, disconnect the device from your computer.
Alternative 2: Using Tenorshare iCareFone
Step 1: Download and Launch Tenorshare iCareFone
-
Download and install Tenorshare iCareFone on your computer.
-
Connect your old iPhone to the computer using its cable.
Step 2: Backup Data
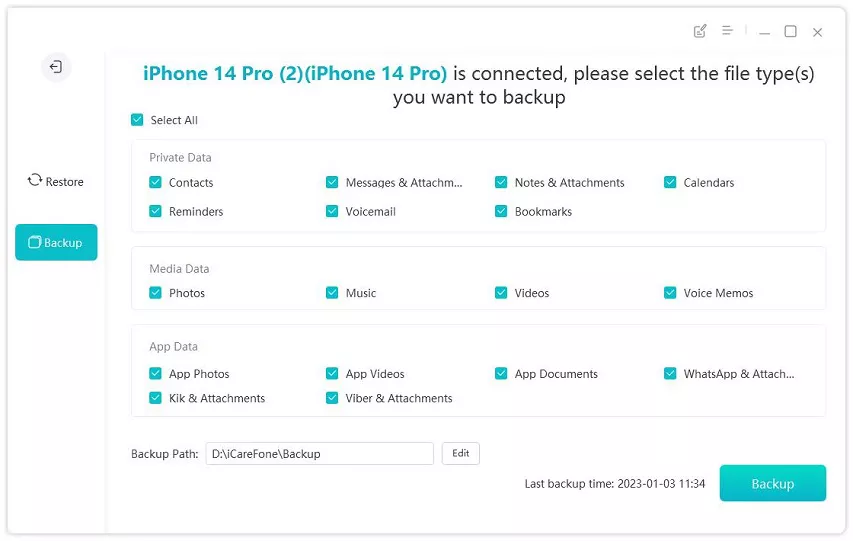
-
Click on “Backup & Restore” in iCareFone. To make a copy of the information on your old iPhone, tap the “Backup” button. By default, all file formats will be chosen.
Step 3: View Backup Data and Connect New iPhone

-
After the backup is complete, click on “View Backup Data.”
-
Connect your new iPhone to the computer.
Step 4: Restore Data

-
All backup data will be displayed. You can choose which data to restore.
-
Click “Restore to Device” to initiate the transfer process.
-
Wait for the process to complete.
Step 5: Finish the Process

-
Once the data is transferred, disconnect your iPhone from the computer.
These alternatives offer ways to transfer data between iPhones without sharing Apple IDs.
They provide more control over what data is transferred and allow you to maintain separate Apple IDs on each device. Ensure to follow the instructions carefully to ensure a successful transfer of your data.
7. Conclusion
Sharing files and data between iPhones without Apple IDs gives consumers more flexibility, privacy, and personalization. AirDrop for direct local transfers or Family Sharing for regulated content sharing allow Apple IDs to be kept separate while effectively exchanging information. Using MobileTrans or Tenorshare iCareFone shows how contemporary technologies can seamlessly migrate and manage data between devices.