How to Rewind A Twitch Stream? [Latest Guide]

Rewinding a Twitch stream has long been a desired feature by viewers, allowing them to revisit or catch up on missed moments during live broadcasts. While Twitch does not provide a built-in rewind function, there are alternative ways available to rewind streams using extensions, clip creation, or accessing streamer’s VODs. In this guide, we will explore these methods step by step, empowering Twitch viewers to take control of their viewing experience and never miss a captivating moment again.
1. Can You Rewind Twitch Streams?
By default, Twitch does not offer a built-in rewind feature for live streams. When watching a live stream, you cannot manually rewind the video to a previous point. The live stream is played in real-time, and viewers can only watch the content as it is being broadcasted.
However, there are alternative methods to rewind Twitch streams. These methods involve using certain features or extensions to achieve the desired result.
2. Method 1: Using the Rewind Extension
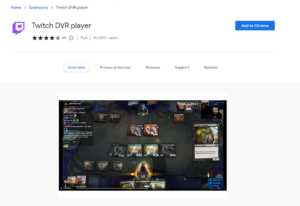
Step 1: Install the Twitch DVR Extension
-
Open the Chrome Web Store by typing “chrome://extensions” in your browser’s address bar and pressing Enter.
-
Once the Chrome Web Store opens, search for “Twitch DVR” in the search bar.
-
Locate the Twitch DVR extension in the search results and click on it to open its details page.
-
To begin the installation procedure, use the “Add to Chrome” button located on the information page.
-
A confirmation prompt will appear. Click “Add extension” to confirm and add the Twitch DVR extension to your Chrome browser.
Step 2: Use the Twitch DVR Extension
-
Launch Twitch and start watching a live stream.
-
Locate the Twitch player on the stream page.
-
You will notice that a new feature has been added to the Twitch player, allowing you to rewind and fast forward the stream.
-
To rewind the stream, click and drag the playhead or scrubber bar backward to the desired point in the stream.
-
The stream will start playing from the selected point, allowing you to watch the content you missed.
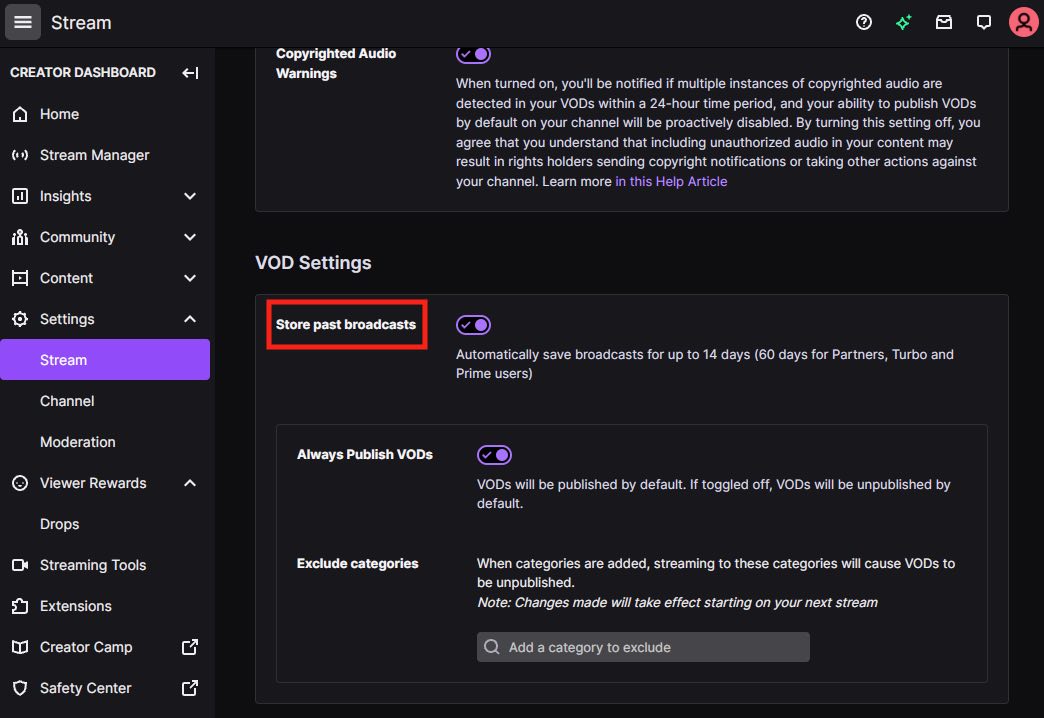
Note: The Twitch DVR extension may not work if a streamer has disabled the Auto Publish VODs feature. However, most streamers have this feature enabled by default. If you encounter issues with the extension, it’s worth checking if the streamer has this feature turned on. You can kindly request the streamer to enable it if necessary.
By following these steps, you can install and use the Twitch DVR extension in Google Chrome to rewind Twitch streams and watch specific parts of a live stream that you may have missed.
3. Method 2: Utilizing the Clip Function

Step 1: Access the Clip Function
-
While watching the Twitch stream, locate the movie logo icon located at the bottom right corner of the screen.
-
Tap on the movie logo icon to activate the Clip function.
Step 2: Create a Clip
-
Once you click on the movie logo, a new section will open displaying your Twitch channel.
-
A Twitch popup window will appear, providing options for creating a clip of the stream.
-
Adjust the length of the clip by shifting the timeline bar to include the desired portion of the stream that you want to rewind.
-
Optionally, add a title to the clip to provide context or information about the specific segment you are capturing.
Step 3: Publish and Share the Clip
-
After customizing the clip, click on the “Publish” button to finalize and save it.
-
By publishing the clip, it becomes available for viewing and sharing with your followers.
-
You can share the clip by selecting the appropriate sharing option provided by Twitch.
-
In addition, you may see the video at a later time by going to the “Videos” section of your Twitch channel, or by copying the link to the clip and manually sharing it.
By following these instructions, you may use Twitch’s Clip feature to rewind a feed and capture a selected portion or highlight for later watching or sharing.
4. Method 3: Watching Streamer’s VODs
Step 1: Access the Streamer’s VODs
-
To rewind a Twitch stream by watching the streamer’s VODs, follow these steps:
-
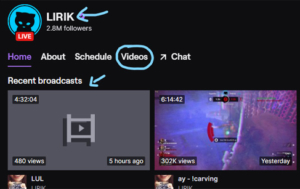
While on the streamer’s channel page or while watching their live stream, locate the streamer’s username right below the video player.
Step 2: Navigate to the Streamer’s VODs
-
Click on the streamer’s username, and you will be redirected to their profile page.
-
On the streamer’s profile page, you should see a list of their recent broadcasts, which are known as VODs (Video On Demand).
Note: If you don’t see any VODs listed, you can access the streamer’s Videos section by clicking on the “Videos” header on their profile page or by adding “/videos” to the end of the channel’s URL. For example, twitch.tv/username/videos.
Step 3: Rewind the Stream in the VOD
-
Once you have accessed the streamer’s VOD, click on the desired VOD from the list.
-
You may pause, go ahead, and rewind the broadcast at any time using the VOD player that will launch.
-
Utilize the player controls to rewind the stream to the specific point you want to watch or review.
By following these steps, you can easily rewind a Twitch stream by accessing the streamer’s VODs and utilizing the playback controls provided by the VOD player.
5. How Do I Rerun My Twitch Stream?
Step 1: Access the Creator Dashboard
-
Click on your avatar located in the top right corner of the Twitch website.
-
From the dropdown menu, select the “Creator Dashboard” option.
Step 2: Open the Stream Manager
Within the Creator Dashboard, locate and click on the “Stream Manager” option.
Step 3: Start a Rerun
-
Once you’re in the Stream Manager, you will see the stream manager interface on your screen.
-
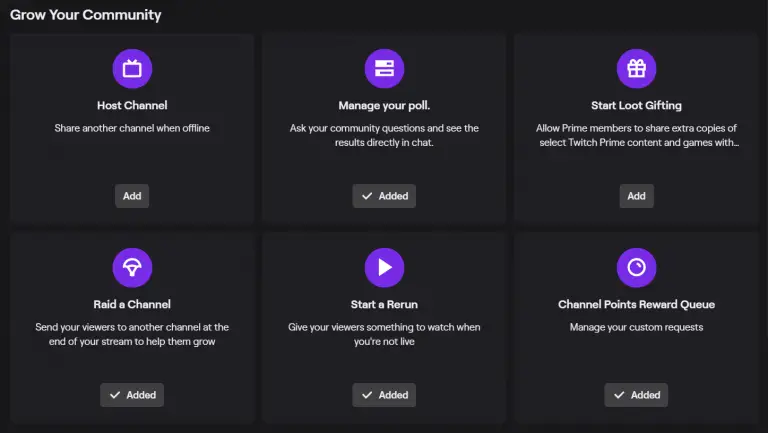
Look for the “Start a Rerun” option and click on it.
Note: If the “Start a Rerun” option is not available in the Stream Manager for your account, follow the alternative method below.
Alternative Method: Using the “+” Icon
-
If the “Start a Rerun” option is not present in the Stream Manager, look for the “+” icon and click on it.
-
A menu will appear, and within that menu, locate and select “Start a Rerun”.
Step 4: Manage Rerun Queue
-
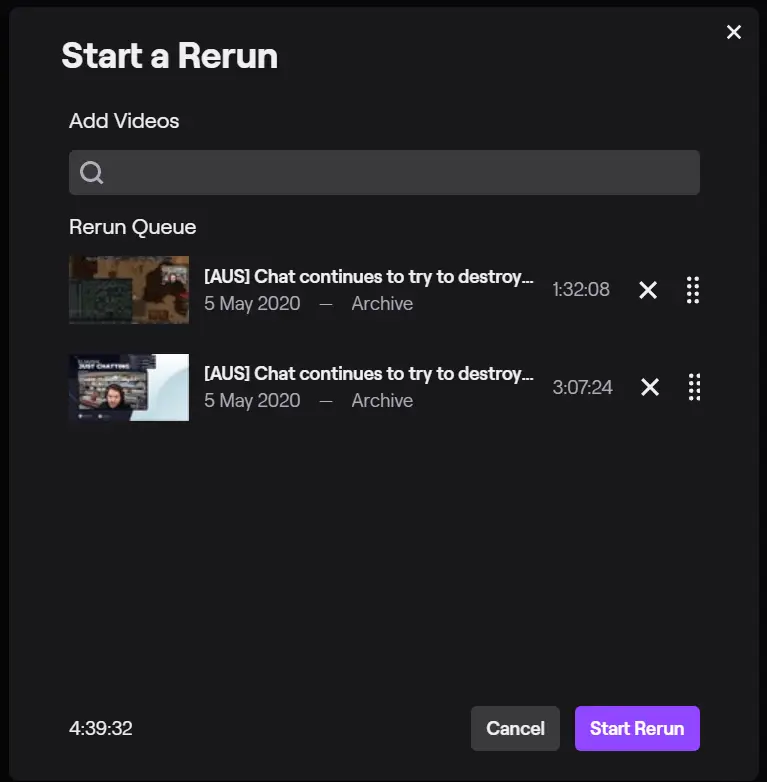
If you don’t have any videos in your rerun queue, you will need to add some.
-
To replay a certain video, type its title into the search field.
-
Select the desired video from the search results.
-
Click on “Start Rerun” to initiate the rerun process.
Note: Please be aware that all options related to managing the rerun can be found at the bottom of your channel screen. Additionally, reruns will play in 720p resolution.
By following these steps, you can successfully rerun your Twitch stream using the Creator Dashboard and Stream Manager.
6. How to Download Twitch Streams?
Step 1: Access Video Producer
To access your profile on Twitch, go to the site and choose your image from the menu that appears.
Step 2: Open Video Producer
Choose “Video Producer” from the resulting submenu.
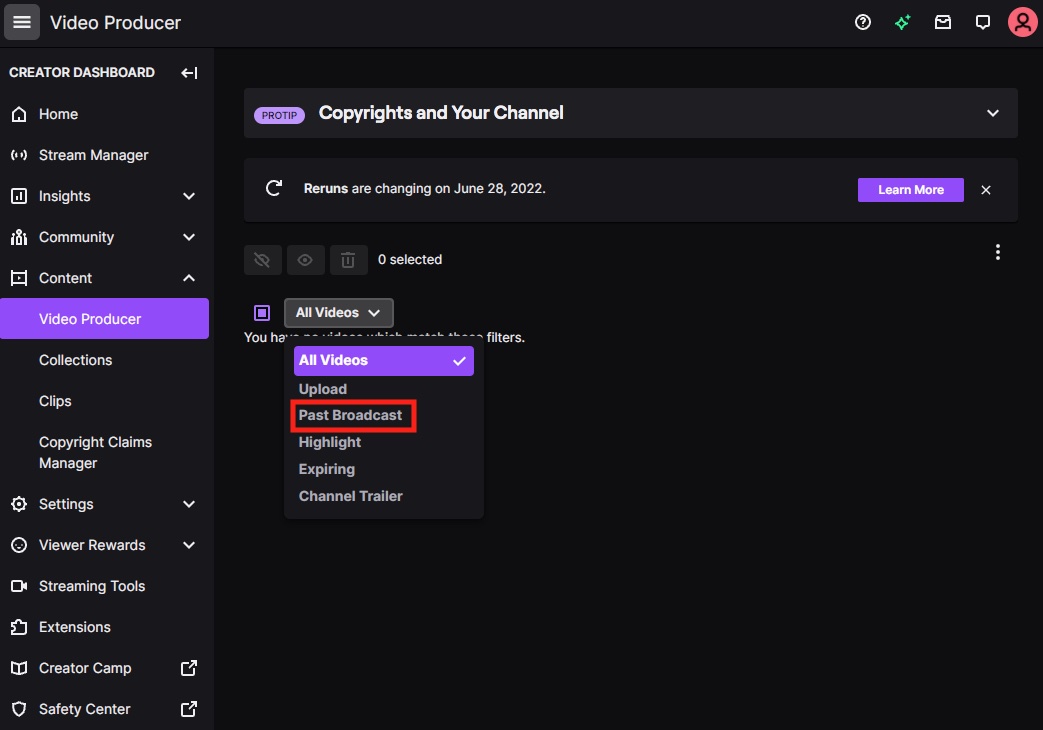
Step 3: Locate and Download the Stream
In the Video Producer menu, scroll through the list below to find the past stream that you want to download.
Once you’ve found the desired VOD, click on the ⠇button located on the far right of that stream.
Step 4: Initiate the Download
A dropdown menu will appear after clicking the ⠇button. From that menu, select the “Download” option.
Follow these instructions to save your Twitch streams on your computer.
7. Can You Edit Past Streams on Twitch?
Yes, you can edit past streams on Twitch by utilizing video editing tools such as Filmora and EaseUS Video Editor. Once you have downloaded the streams, you can open these video editing software programs to make edits and enhancements to your streams. These tools provide various features and options to edit your videos, including cutting, trimming, adding effects, and more. By utilizing these video editing tools, you can customize and enhance your past Twitch streams to create engaging and professional content.
8. Editing Past Twitch Streams Using Filmora
Step 1: Launch Filmora and select the aspect ratio
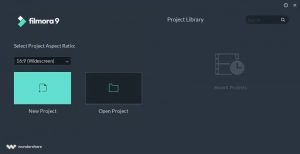
Double-click on Filmora‘s desktop icon to open the software. You can choose the desired aspect ratio for your video project during this step, which can save time in the editing process.
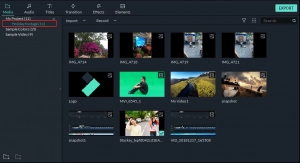
Step 2: Create a new project and import the footage

Click on “New Project” in the software’s welcome screen to create a new project. Once the editor loads, register the product if necessary. Head over to the “File” menu and click on “Project Settings” to set the aspect ratio for the final cut of your video. Import the footage you want to edit by clicking on the “Import” button and selecting the media files from your hard drive.
Step 3: Organize the material you are using in your project
Use Filmora’s Media tab to organize the imported files. To avoid confusion, create folders using the “Add a New Folder” icon in the My Project tab. You can arrange the footage alphabetically or in any other way that suits your workflow.
Step 4: Place the video and audio files on the timeline to remove the redundant parts

Drag and drop the video and audio files from the Media tab to the timeline. Remove any unwanted parts by trimming the clips. Use the playhead to navigate to the desired position in the video and perform the same action at the other end. Filmora allows you to trim videos by dragging the ends of the clips.
Step 5: Apply visual effects to the footage

After trimming the clips, you can enhance your video by adding visual effects, text, transitions, and filters. Click on the respective icons in the toolbar to access these features. You can add opening titles, end credits, subtitles, and apply color correction to make the colors in the video more vivid.
Step 6: Go through the color correction process
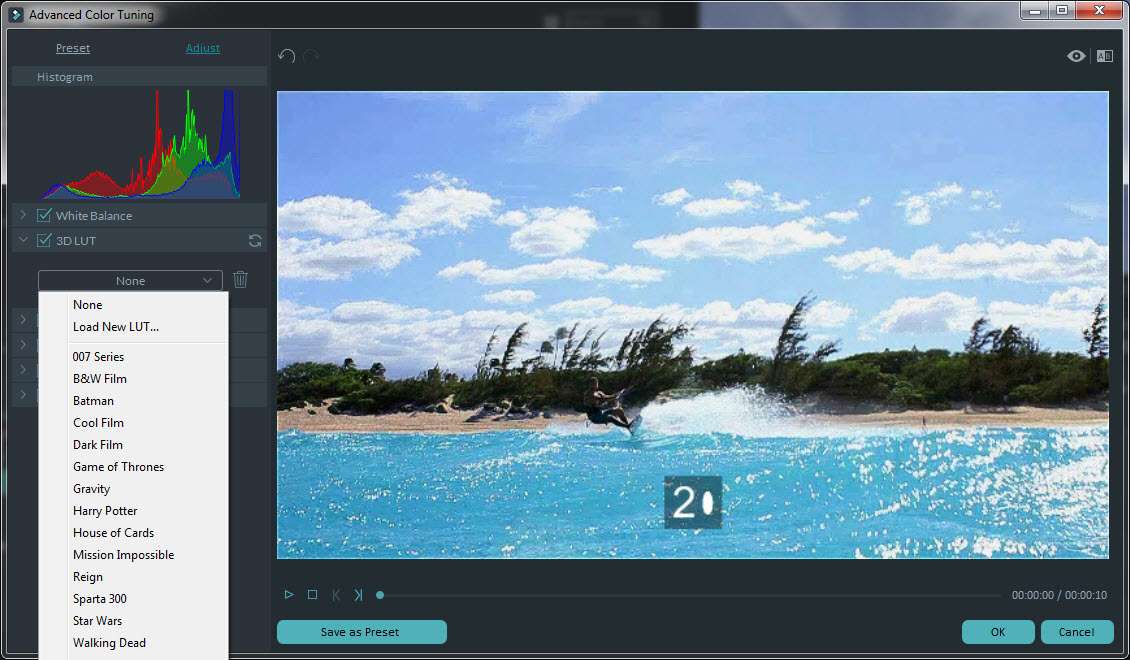
Use the Effects icon to apply filters and overlays to your footage. Filmora also offers advanced color correction tools for fine-tuning the color values in your videos. You can adjust the duration of the filters by dragging the ends. Mastering color correction requires time and practice to achieve the desired visual effects.
Step 7: Export and Share
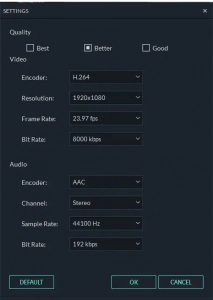
Once you have completed the editing process, click on the “Export” button. In the Output window, select the desired video format, optimize it for specific devices if needed, and choose the output folder on your hard drive. You can also export your videos directly to platforms like Vimeo or YouTube for easy sharing.
By following these steps, you can edit your past Twitch streams using Filmora and create engaging and professional video content.
9. Editing Past Twitch Streams Using EaseUS Video Editor
Step 1: Open EaseUS Video Editor
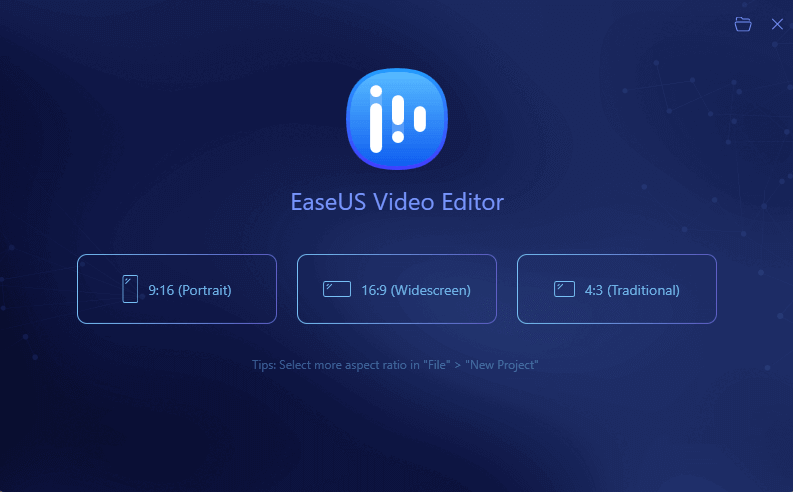
Download and launch EaseUS Video Editor. Upon opening the software, you’ll be prompted to choose between 4:3 and 16:9 modes based on your original video’s aspect ratio or the platform where you’ll be uploading the video.
Step 2: Import Videos
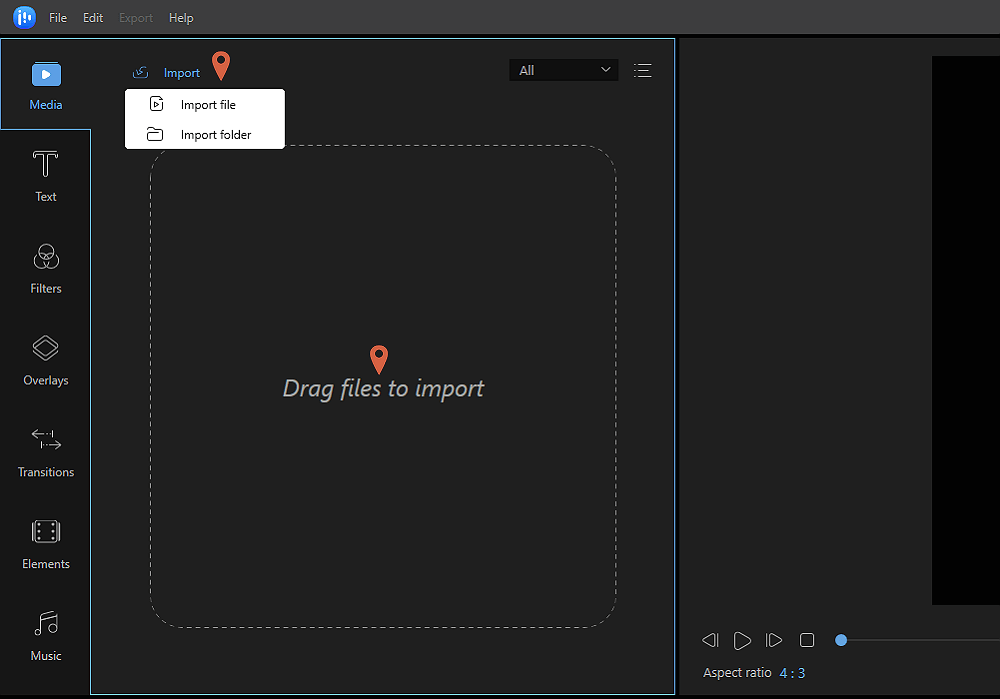
Import the media files that you want to edit. You can apply various effects like texts, filters, overlays, and transitions to enhance your video.
Step 3: Add to Project
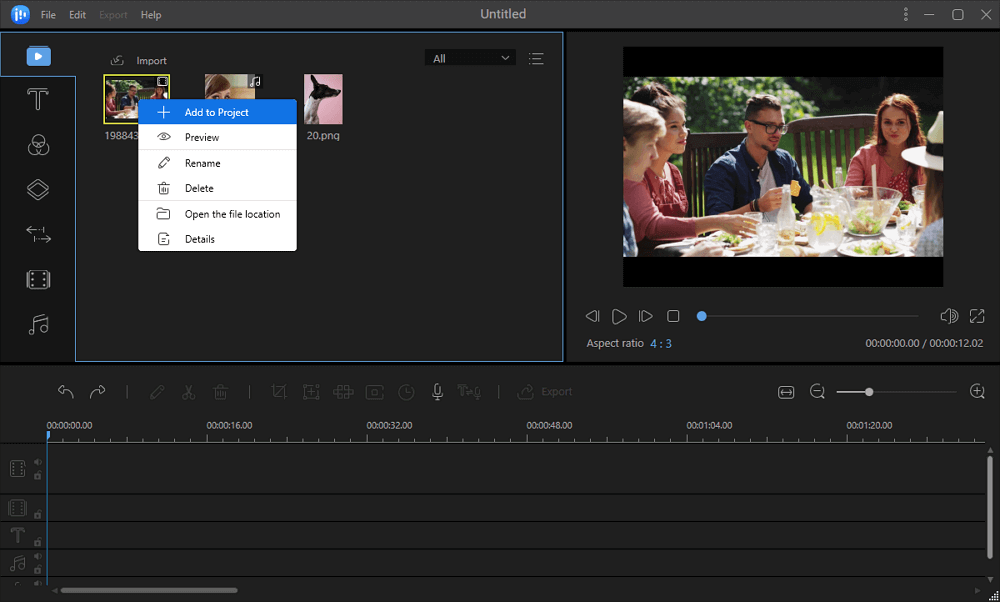
Drag and drop the video clips from the Media Library to the timeline panel. Alternatively, you can right-click on the clips in the Media Library and select “Add to Project” to load them onto the timeline.
Step 4: Edit Videos
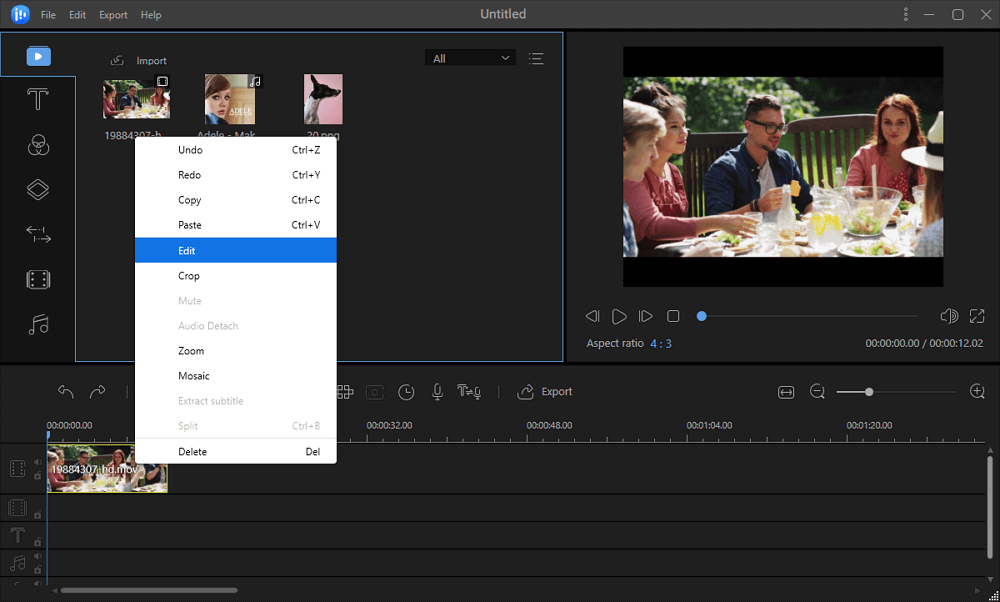
Right-click on a video clip in the timeline and select “Edit” to access editing options. You can split, trim, adjust the playback speed, rotate, add watermarks, or enhance video clips with additional effects.
Step 5: Export Projects
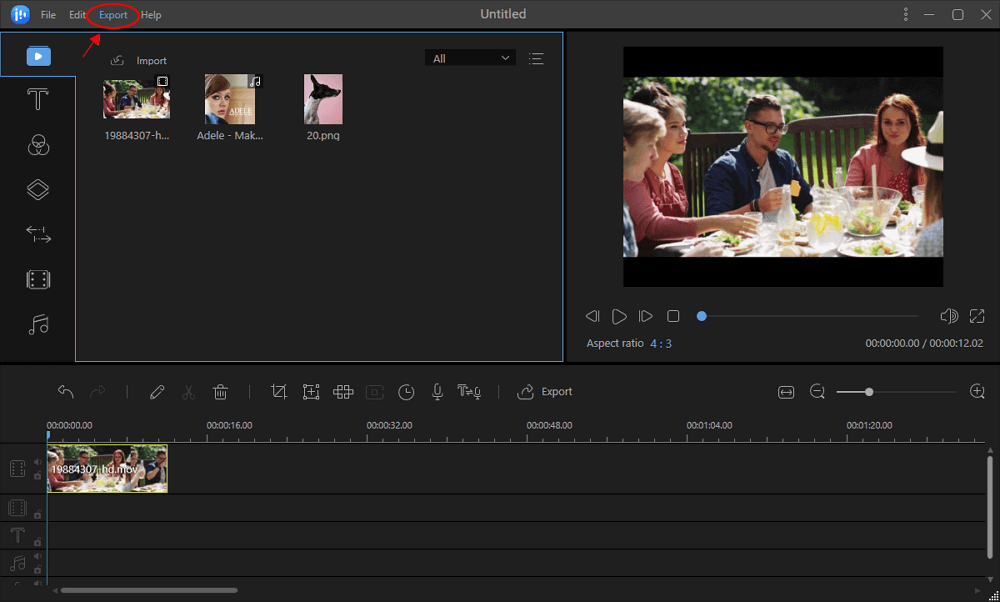
Once you have finished editing your video, click on the “Export” button in the toolbar to export the project. EaseUS Video Editor provides four different ways to save your project, allowing you to choose the most suitable option for your needs.
By following these steps, you can easily edit your past Twitch streams using EaseUS Video Editor and create captivating videos with customized effects, transitions, and more.
10. Conclusion
While Twitch does not offer a built-in rewind feature for live streams, viewers can utilize extensions like Twitch DVR, the Clip function, or access streamer’s VODs to rewind and relive moments. These methods provide greater control and foster community engagement, allowing viewers to easily share their favorite moments. Embrace the absence of a rewind button on Twitch and discover new ways to rewind, replay, and rediscover the excitement of live streams.