[Solved] Fixing the Issue: Your Screenshot Can’t Be Saved on Mac

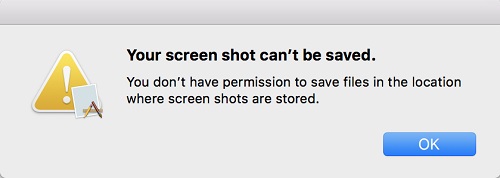
Are you frustrated by the persistent problem of being unable to save screenshots on your Mac? Look no further, as this paper presents a collection of proven solutions to resolve the issue.
Solution 1: Verify Mac’s shortcut settings
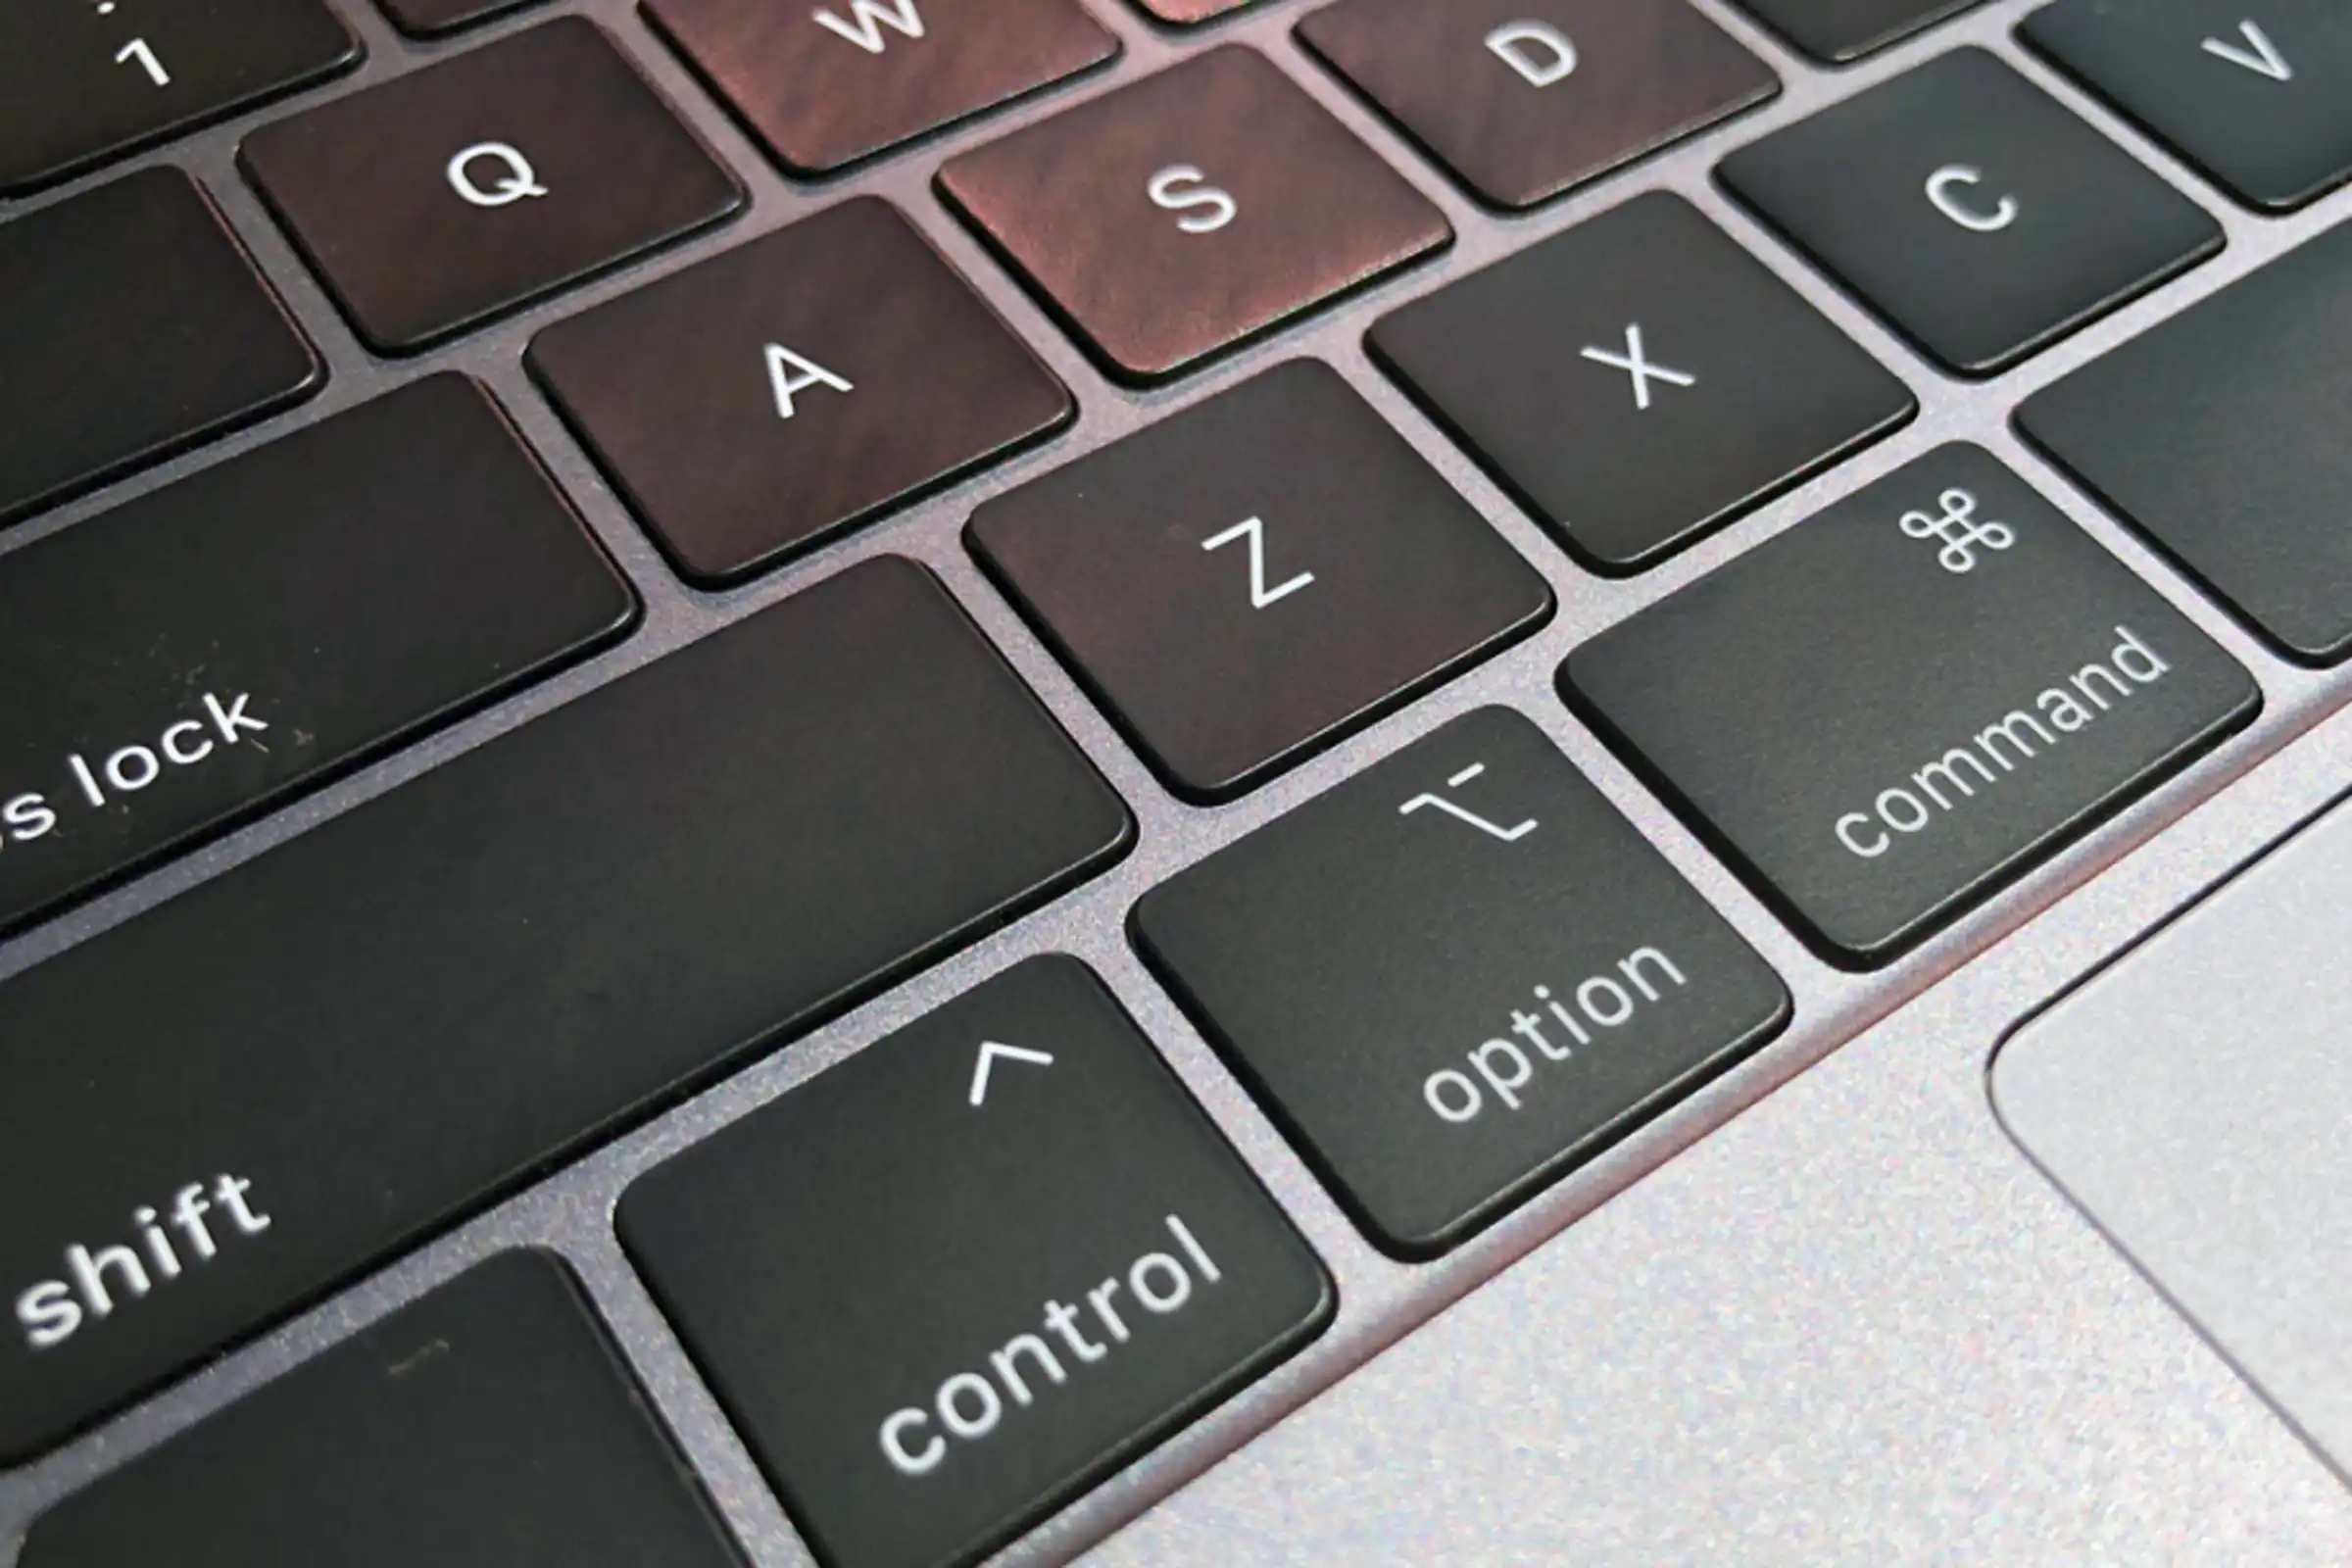
Open “System Preferences” on your Mac.
Go to “Keyboard” and click on the “Shortcuts” tab.
Select “Screen Shots” from the left sidebar.
Ensure that the desired shortcut options are enabled.
Solution 2: Restart and update the Mac
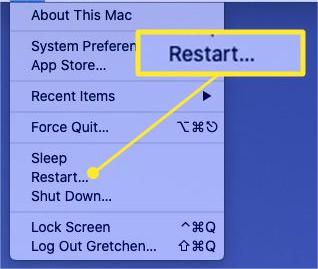
Restart your Mac to clear any temporary issues.
Check for software updates by clicking on the Apple menu and selecting “System Preferences.”
Go to “Software Update” and install any available updates.
Solution 3: Confirm screenshot saving location

After taking a screenshot, check the default saving location on your Mac.
Open “Finder” and navigate to the “Desktop” or “Pictures” folder.
If necessary, change the saving location in the screenshot settings.
Solution 4: Boot in safe mode
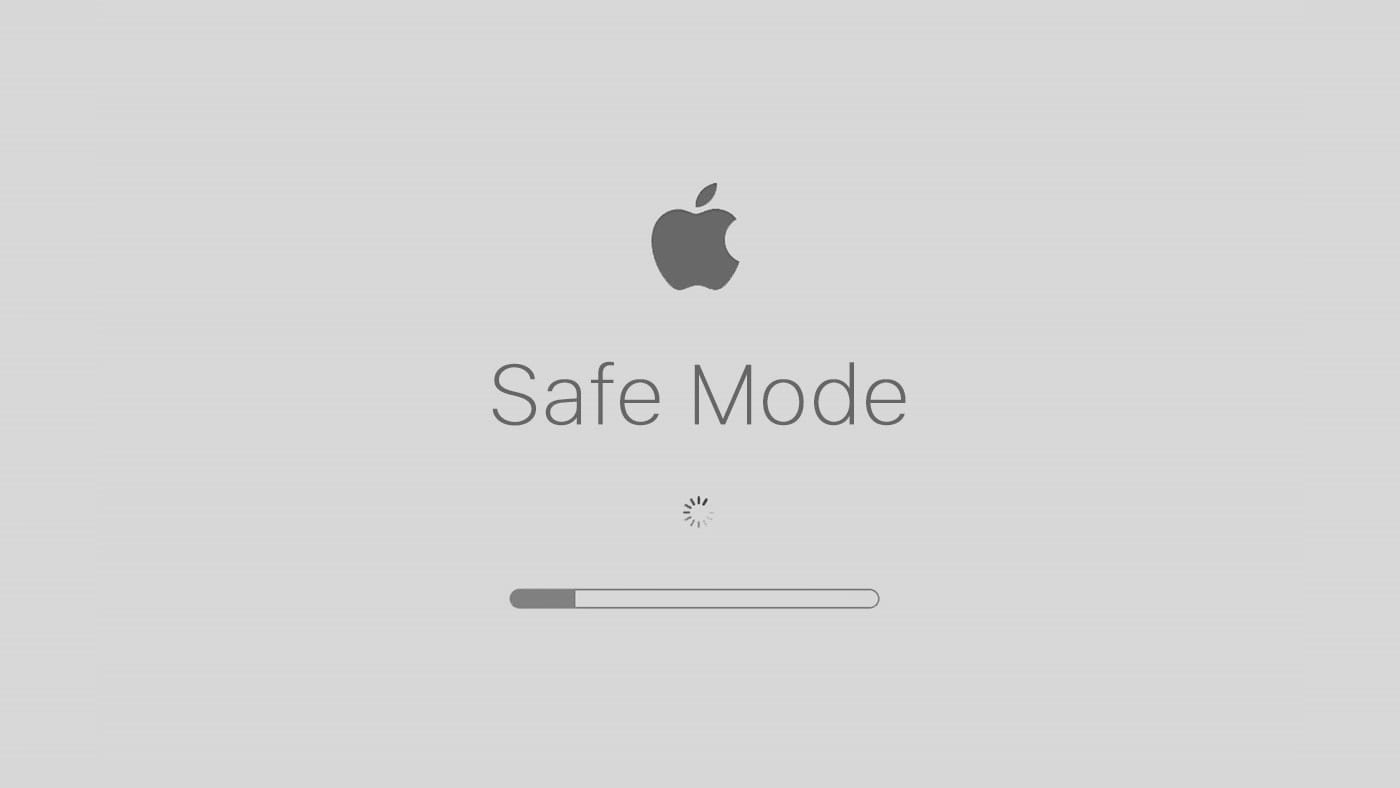
Shut down your Mac.
Press the power button and immediately hold down the Shift key.
Remove the Shift key when you see the Apple logo and progress bar.
Test if the screenshot function works in safe mode.
Solution 5: Check for malware
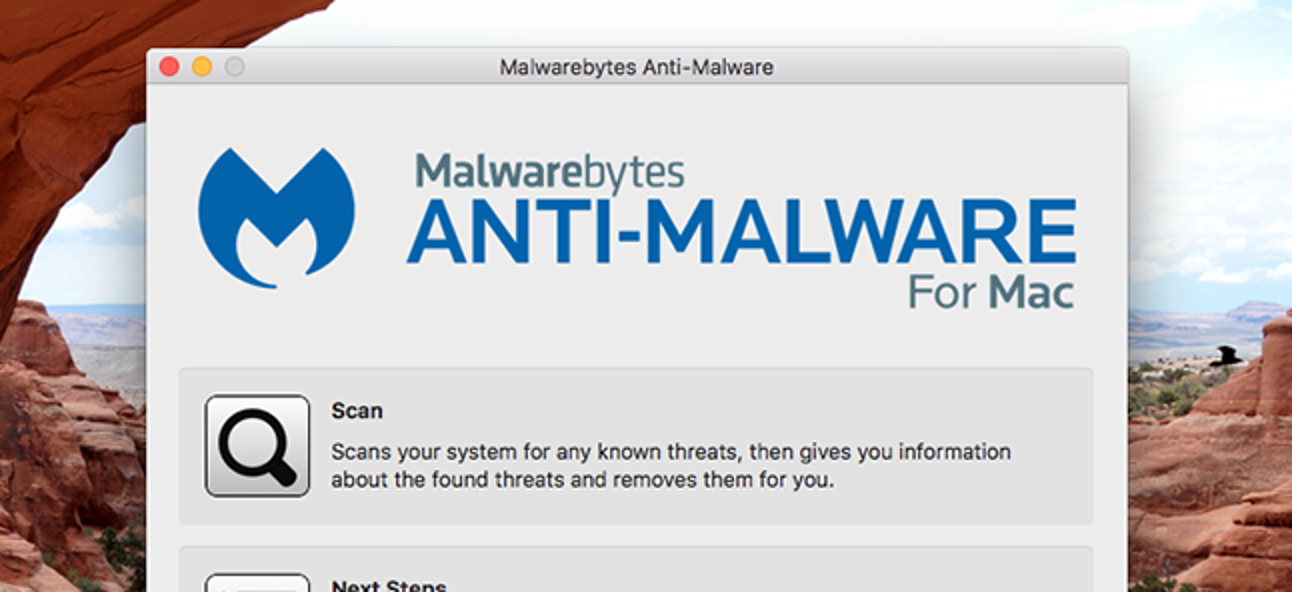
Use reputable antivirus software to scan your Mac for any malware.
Adhere to the instructions provided by the antivirus software to remove any detected threats.
Solution 6: Utilize native screenshot utilities

Use the “Command + Shift + 3” shortcut to capture the entire screen.
Use the “Command + Shift + 4” shortcut to capture a selected portion of the screen.
Check if the screenshots are now being saved successfully.
Solution 7: Use Grab to screenshot on Mac
Open the “Finder” on your Mac.
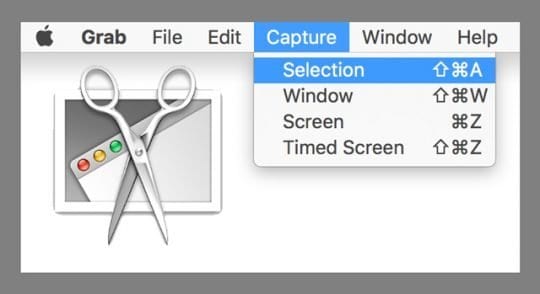
Go to “Applications” > “Utilities” and open “Grab.”
In the Grab menu, choose the desired capture option, such as “Selection” or “Window.”
Save the screenshot from the Grab menu.
Solution 8: Utilize Preview to screenshot on Mac
Open the “Preview” application on your Mac.
Click on “File” and select “Take Screenshot.”
Choose the desired capture option, such as “From Selection” or “From Window.”
Save the screenshot from the Preview window.
Remember to test the screenshot function after each solution to determine if the issue has been resolved.
Common Causes of the “Your Screenshot Can’t Be Saved” Issue
-
System Glitches: Technical issues or software conflicts within the Mac operating system can disrupt the screenshot saving process.
-
Incorrect Screenshot Folder Settings: Misconfigured settings for the default screenshot folder can prevent the Mac from saving screenshots properly.
-
Insufficient Permissions: The screenshot folder may lack the necessary permissions, preventing the Mac from saving screenshots to that location.
-
Third-Party Software Incompatibility: Certain third-party browsers or software applications can interfere with the screenshot functionality, resulting in the inability to save screenshots.
- Low Disk Space: If the Mac’s storage is nearly full, there may not be enough space to save screenshots, leading to errors.
-
Damaged System Files: Corrupted or damaged system files can disrupt the screenshot saving process and cause the “Your Screenshot Can’t Be Saved” issue.
-
Outdated Software: Using outdated versions of the operating system or screenshot-related applications can lead to compatibility issues, hindering the saving of screenshots.
-
Keyboard or Shortcut Configuration Issues: Misconfigured keyboard shortcuts or incorrect keyboard settings can prevent the Mac from capturing and saving screenshots properly.
-
Malware or Security Software Interference: Malware infections or overly strict security software settings may block the Mac’s screenshot functionality and prevent screenshots from being saved.
- Hardware Malfunction: In rare cases, hardware issues with the Mac’s keyboard or other components can cause the inability to save screenshots.
Note: These common causes are provided to give a concise overview. Depending on specific circumstances, there may be other factors contributing to the “Your Screenshot Can’t Be Saved” issue on Mac.
How to Recover Lost Screenshots on Mac?
To recover lost screenshots on Mac, you can check the Trash folder first. If the screenshots were recently deleted, you can restore them from there. Otherwise, you may need to use specialized data recovery software like Tenorshare 4DDiG Mac Data Recovery.
Step 1: Download and Launch 4DDiG Mac Data Recovery
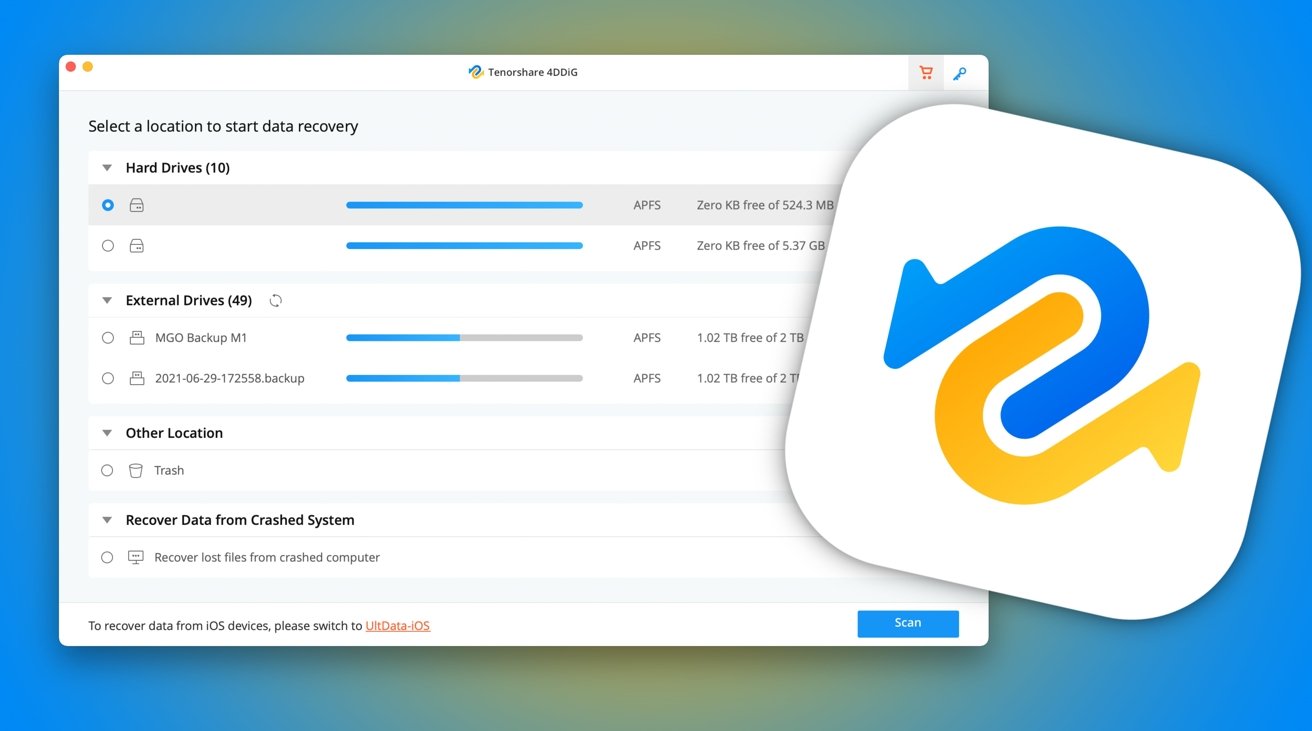
- Visit the official website and download the 4DDiG Mac Data Recovery.
- Install the software on your Mac and launch it.
Step 2: Select the Drives for Recovery
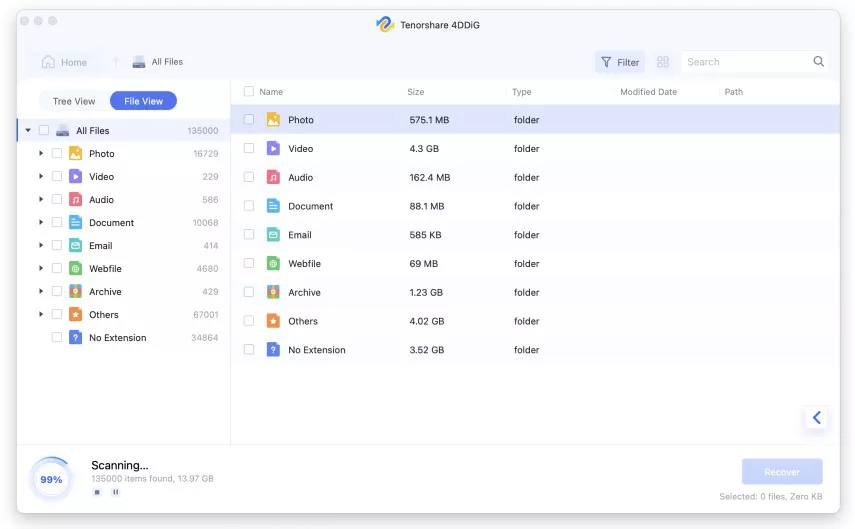
- From the main interface, choose the drives or storage devices from where you want to recover your deleted screenshots.
- Click on the “Scan” button to initiate the scanning process.
Step 3: Preview and Recover Deleted Screenshots
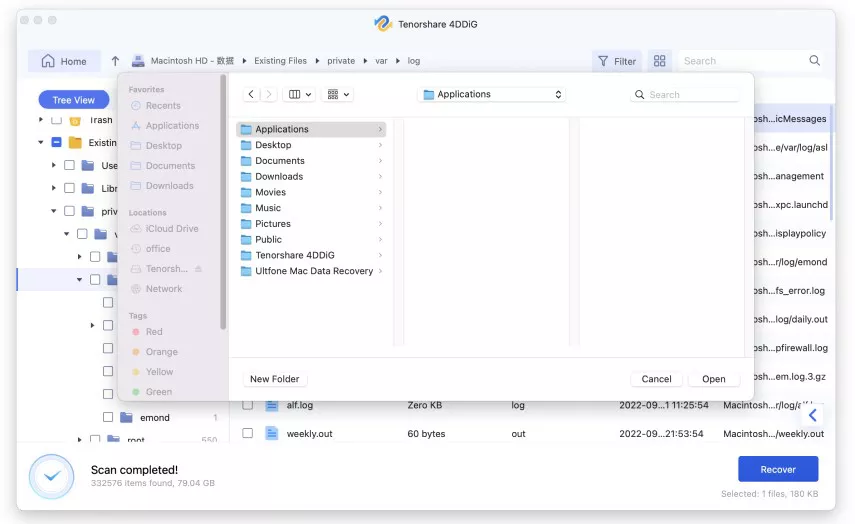
- Once the scanning is complete, you can preview the recovered files.
- Navigate through the list of deleted files and locate your screenshots.
- Click on the “Recover” button to restore your lost screenshots.
- Wait for the recovery process to finish.
By following these steps using the 4DDiG Mac Data Recovery, you can easily recover your lost screenshots and regain access to those important images on your Mac.
FAQs
Q: Where are screenshots saved on Mac?
A: By default, screenshots on Mac are saved on the desktop. They appear as files labeled with the date and time of capture.
Q: Is there a way to capture a selected region on a Mac?
A: Yes, using the Mac’s built-in screenshot utility, you can capture a screenshot of a specific area. Press “Command + Shift + 4” to activate it, then drag the cursor to choose the desired area. The image will be stored on the desktop.
The Bottom Line
Encountering the “Your Screenshot Can’t Be Saved” issue on a Mac can be frustrating, but there are several solutions to try. We hope that among these solutions, you can find the perfect one that resolves the problem and allows you to capture and save screenshots effortlessly.
